Get Published!


There is a trend in all sectors of education to not only discount the reading of pure fiction, but to undervalue the power of the arts to speak in a way where words fail. This is not wise. Arts education is inextricably linked to English Language Arts.
Section 5 provides an opportunity for students to practice communicating an idea in a visual language. Because great stories offer fodder for the imagination, each and every Literature + Writing Discovery Guide (the CORE of our language arts offering) sets aside a full week to create and celebrate.
During Section 2, begin brainstorming. Download our free planning worksheet to begin. Write down your ideas and, since your Section 5 will include a visual component, create small sketches demonstrating different ways you imagine your idea might take shape and what materials you might utilize.
During Section 3, choose the idea you like best and make a full-page sketch with labels that will help you prepare.
During Section 4, gather all the materials you will need to complete your project build.
After all this, when Section 5 rolls around, your student will be prepared to focus on creating a meaningful project. A project that your student will surely be proud of for years to come. Check out our Student Project Gallery to be inspired. Send us photos of your completed project so we can add it to the gallery to inspire others.
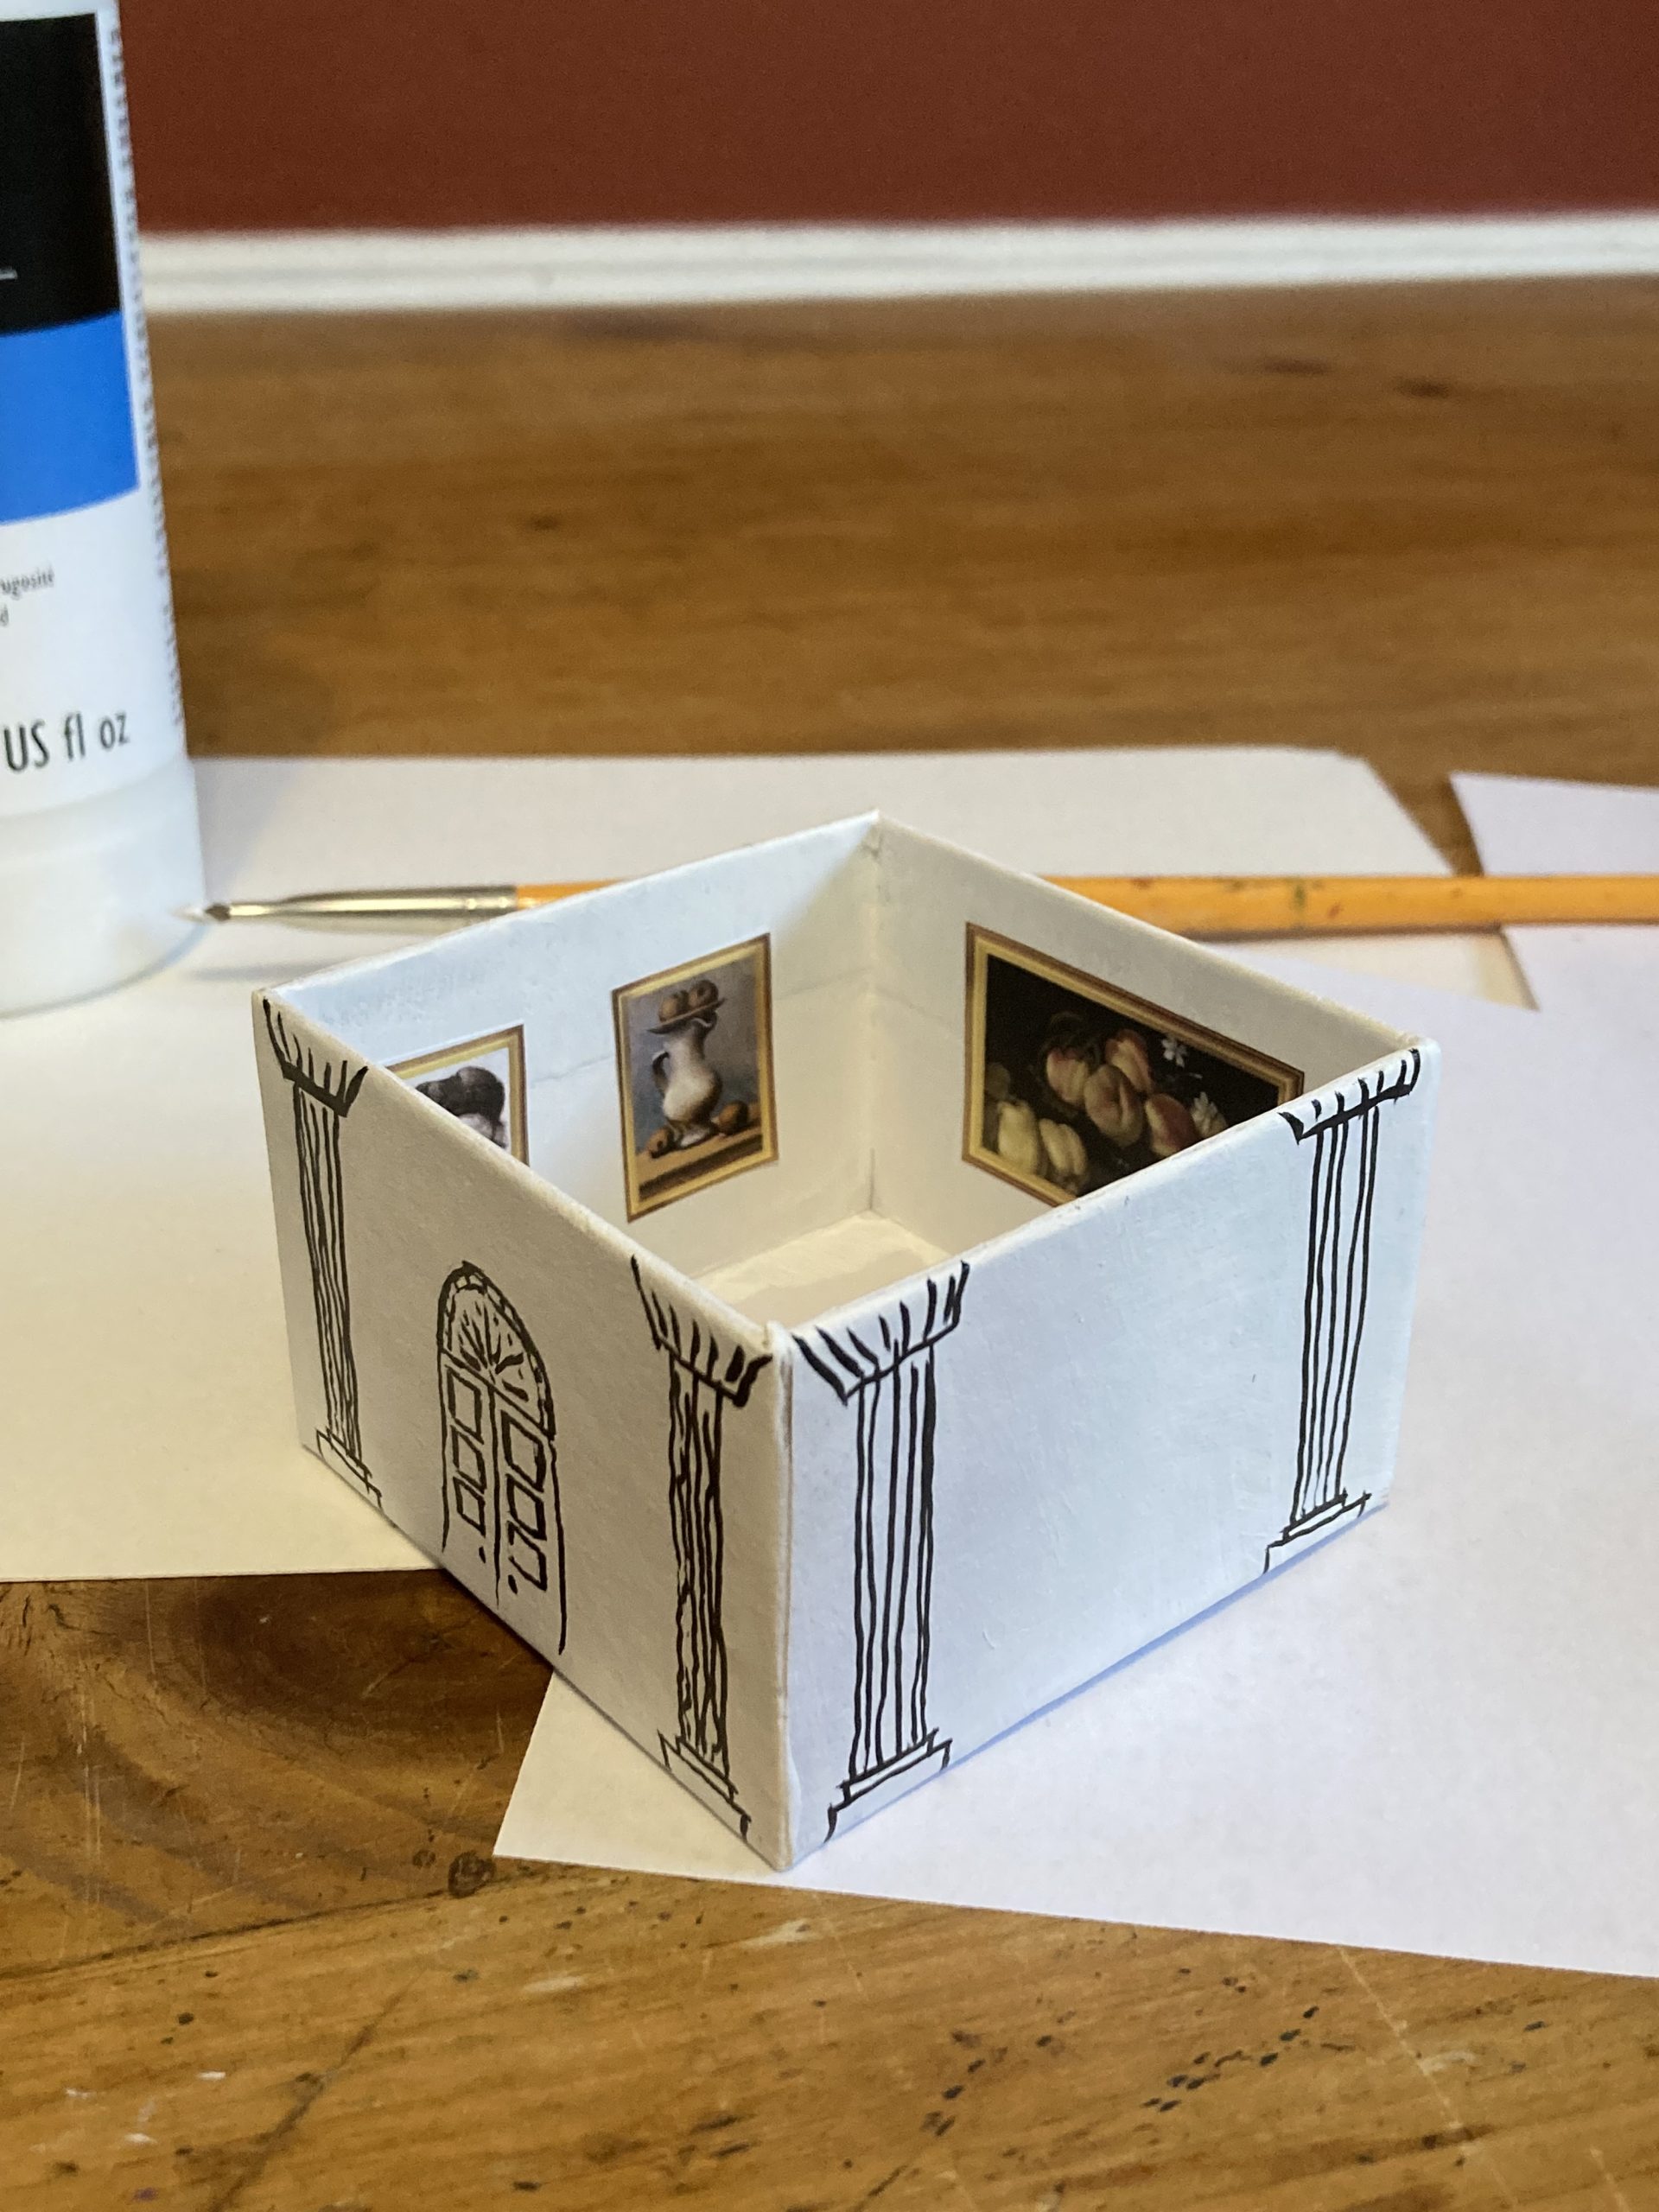
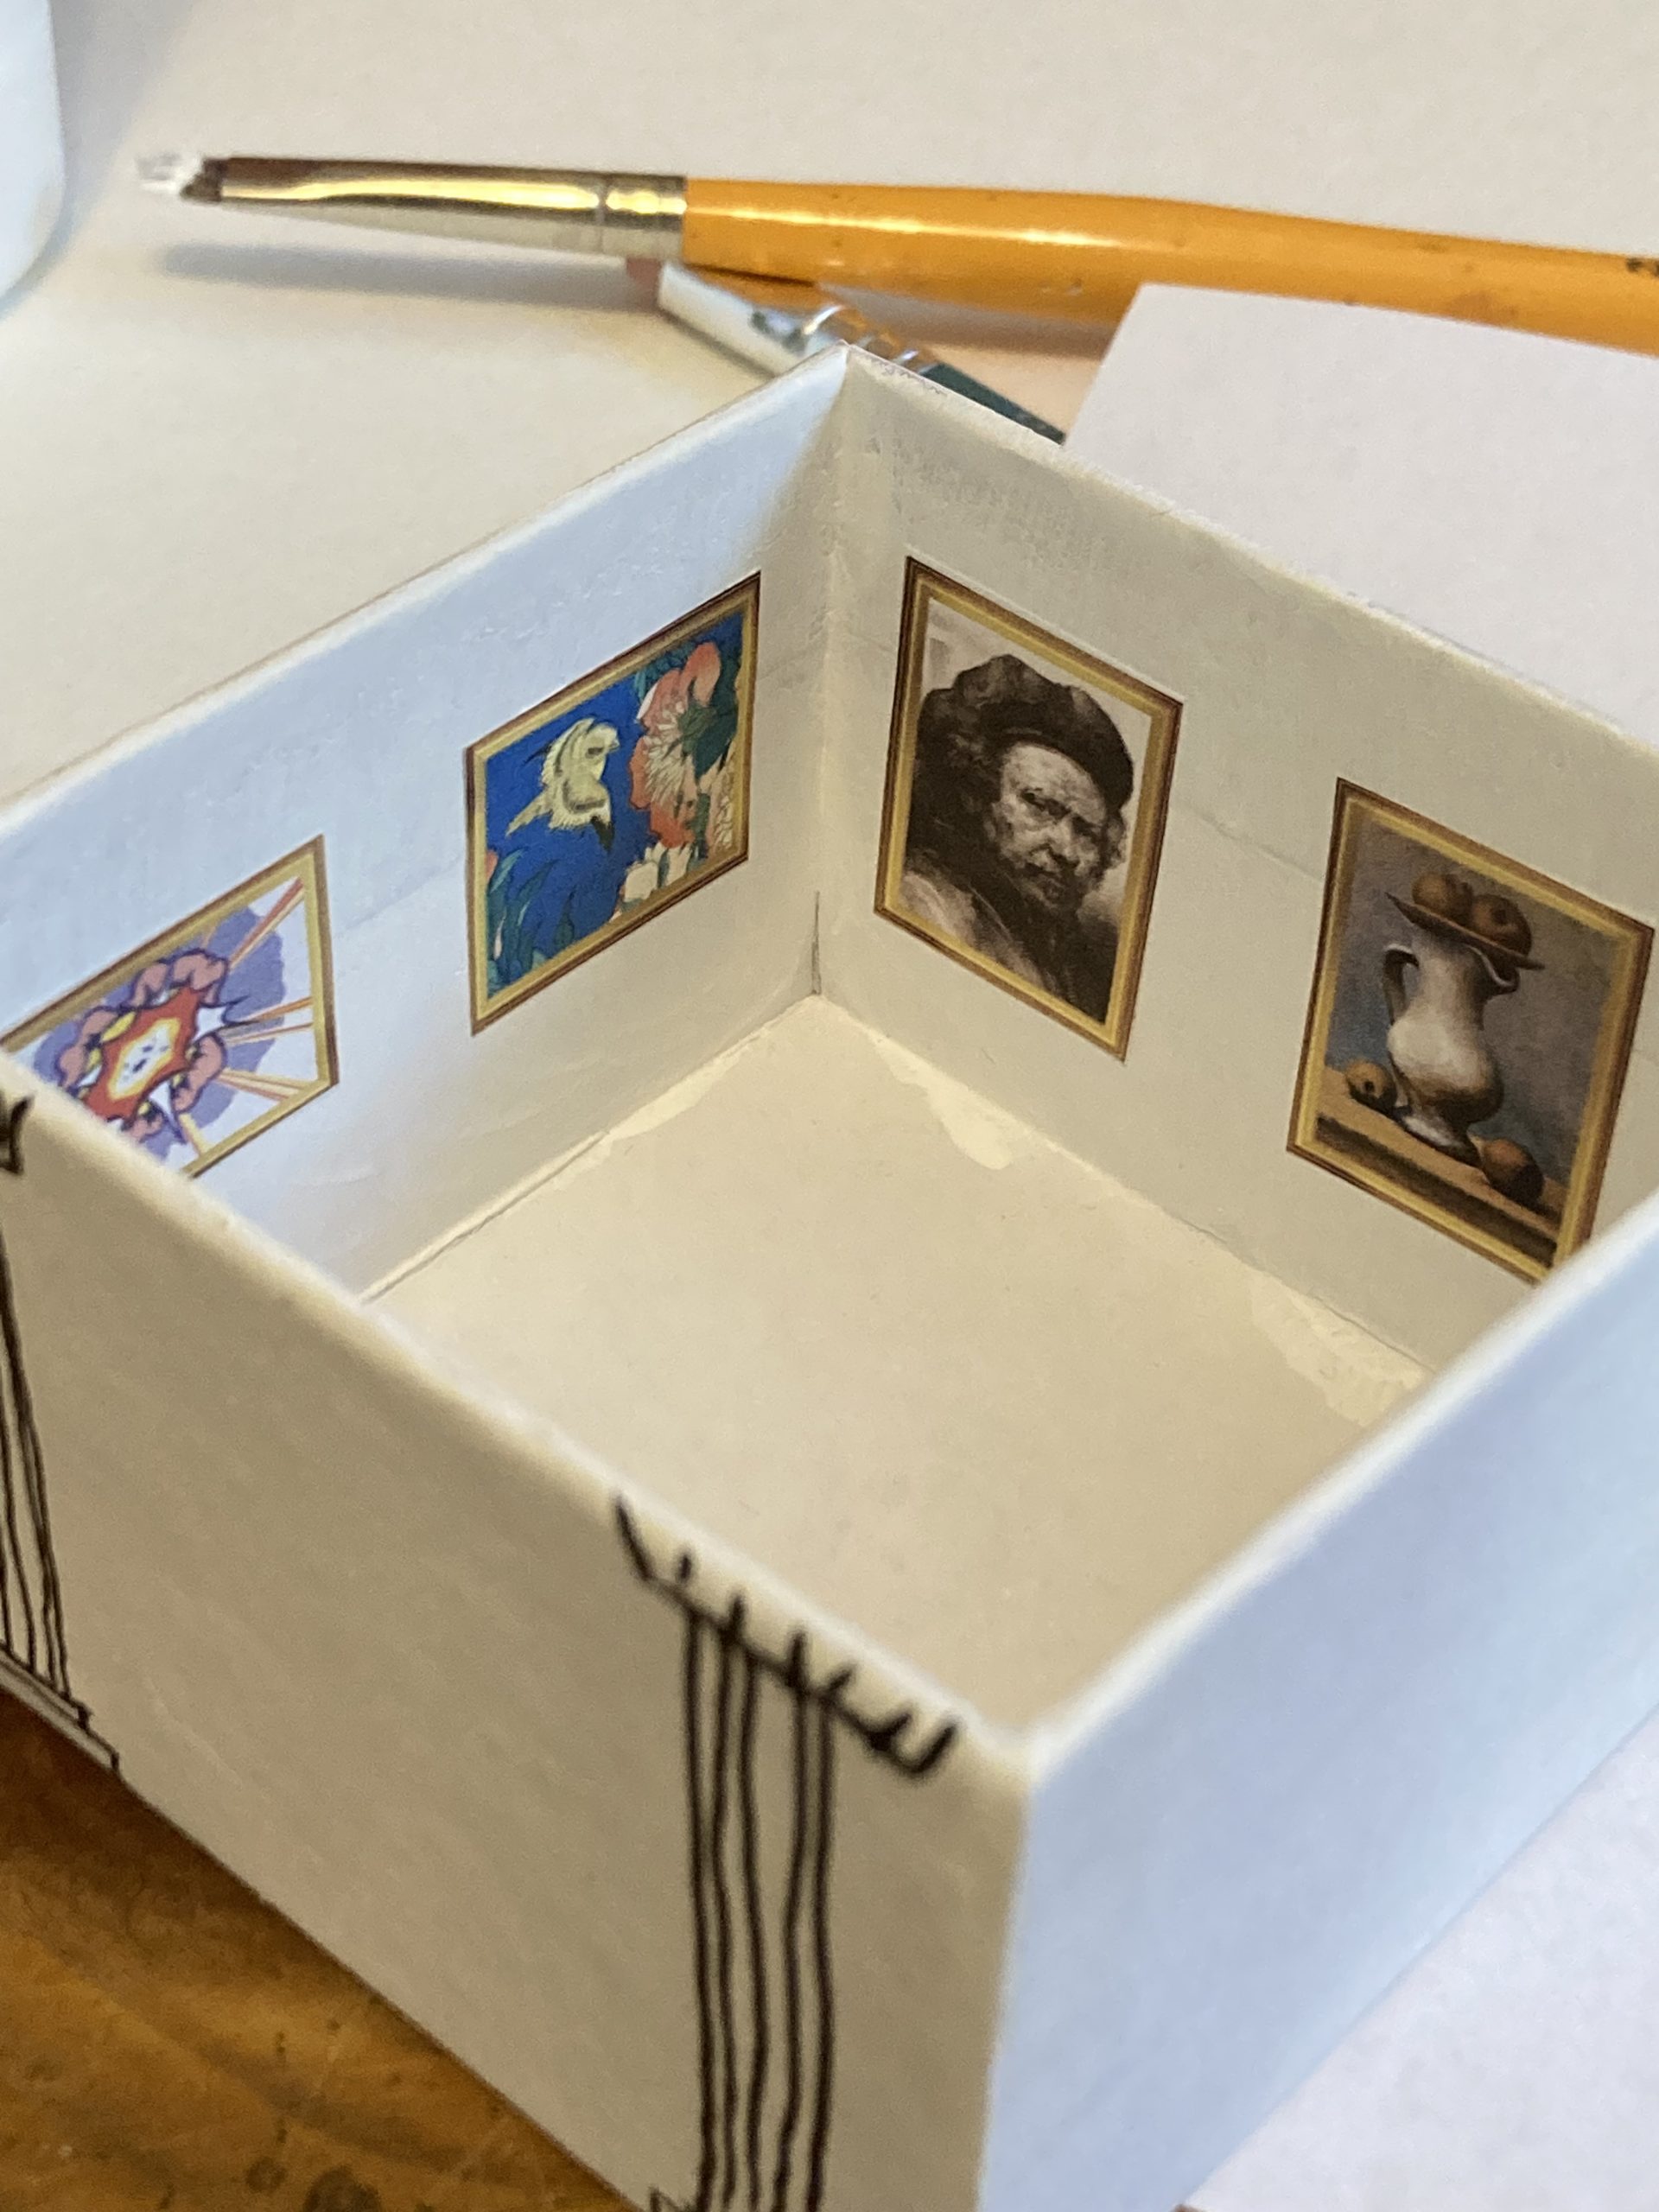
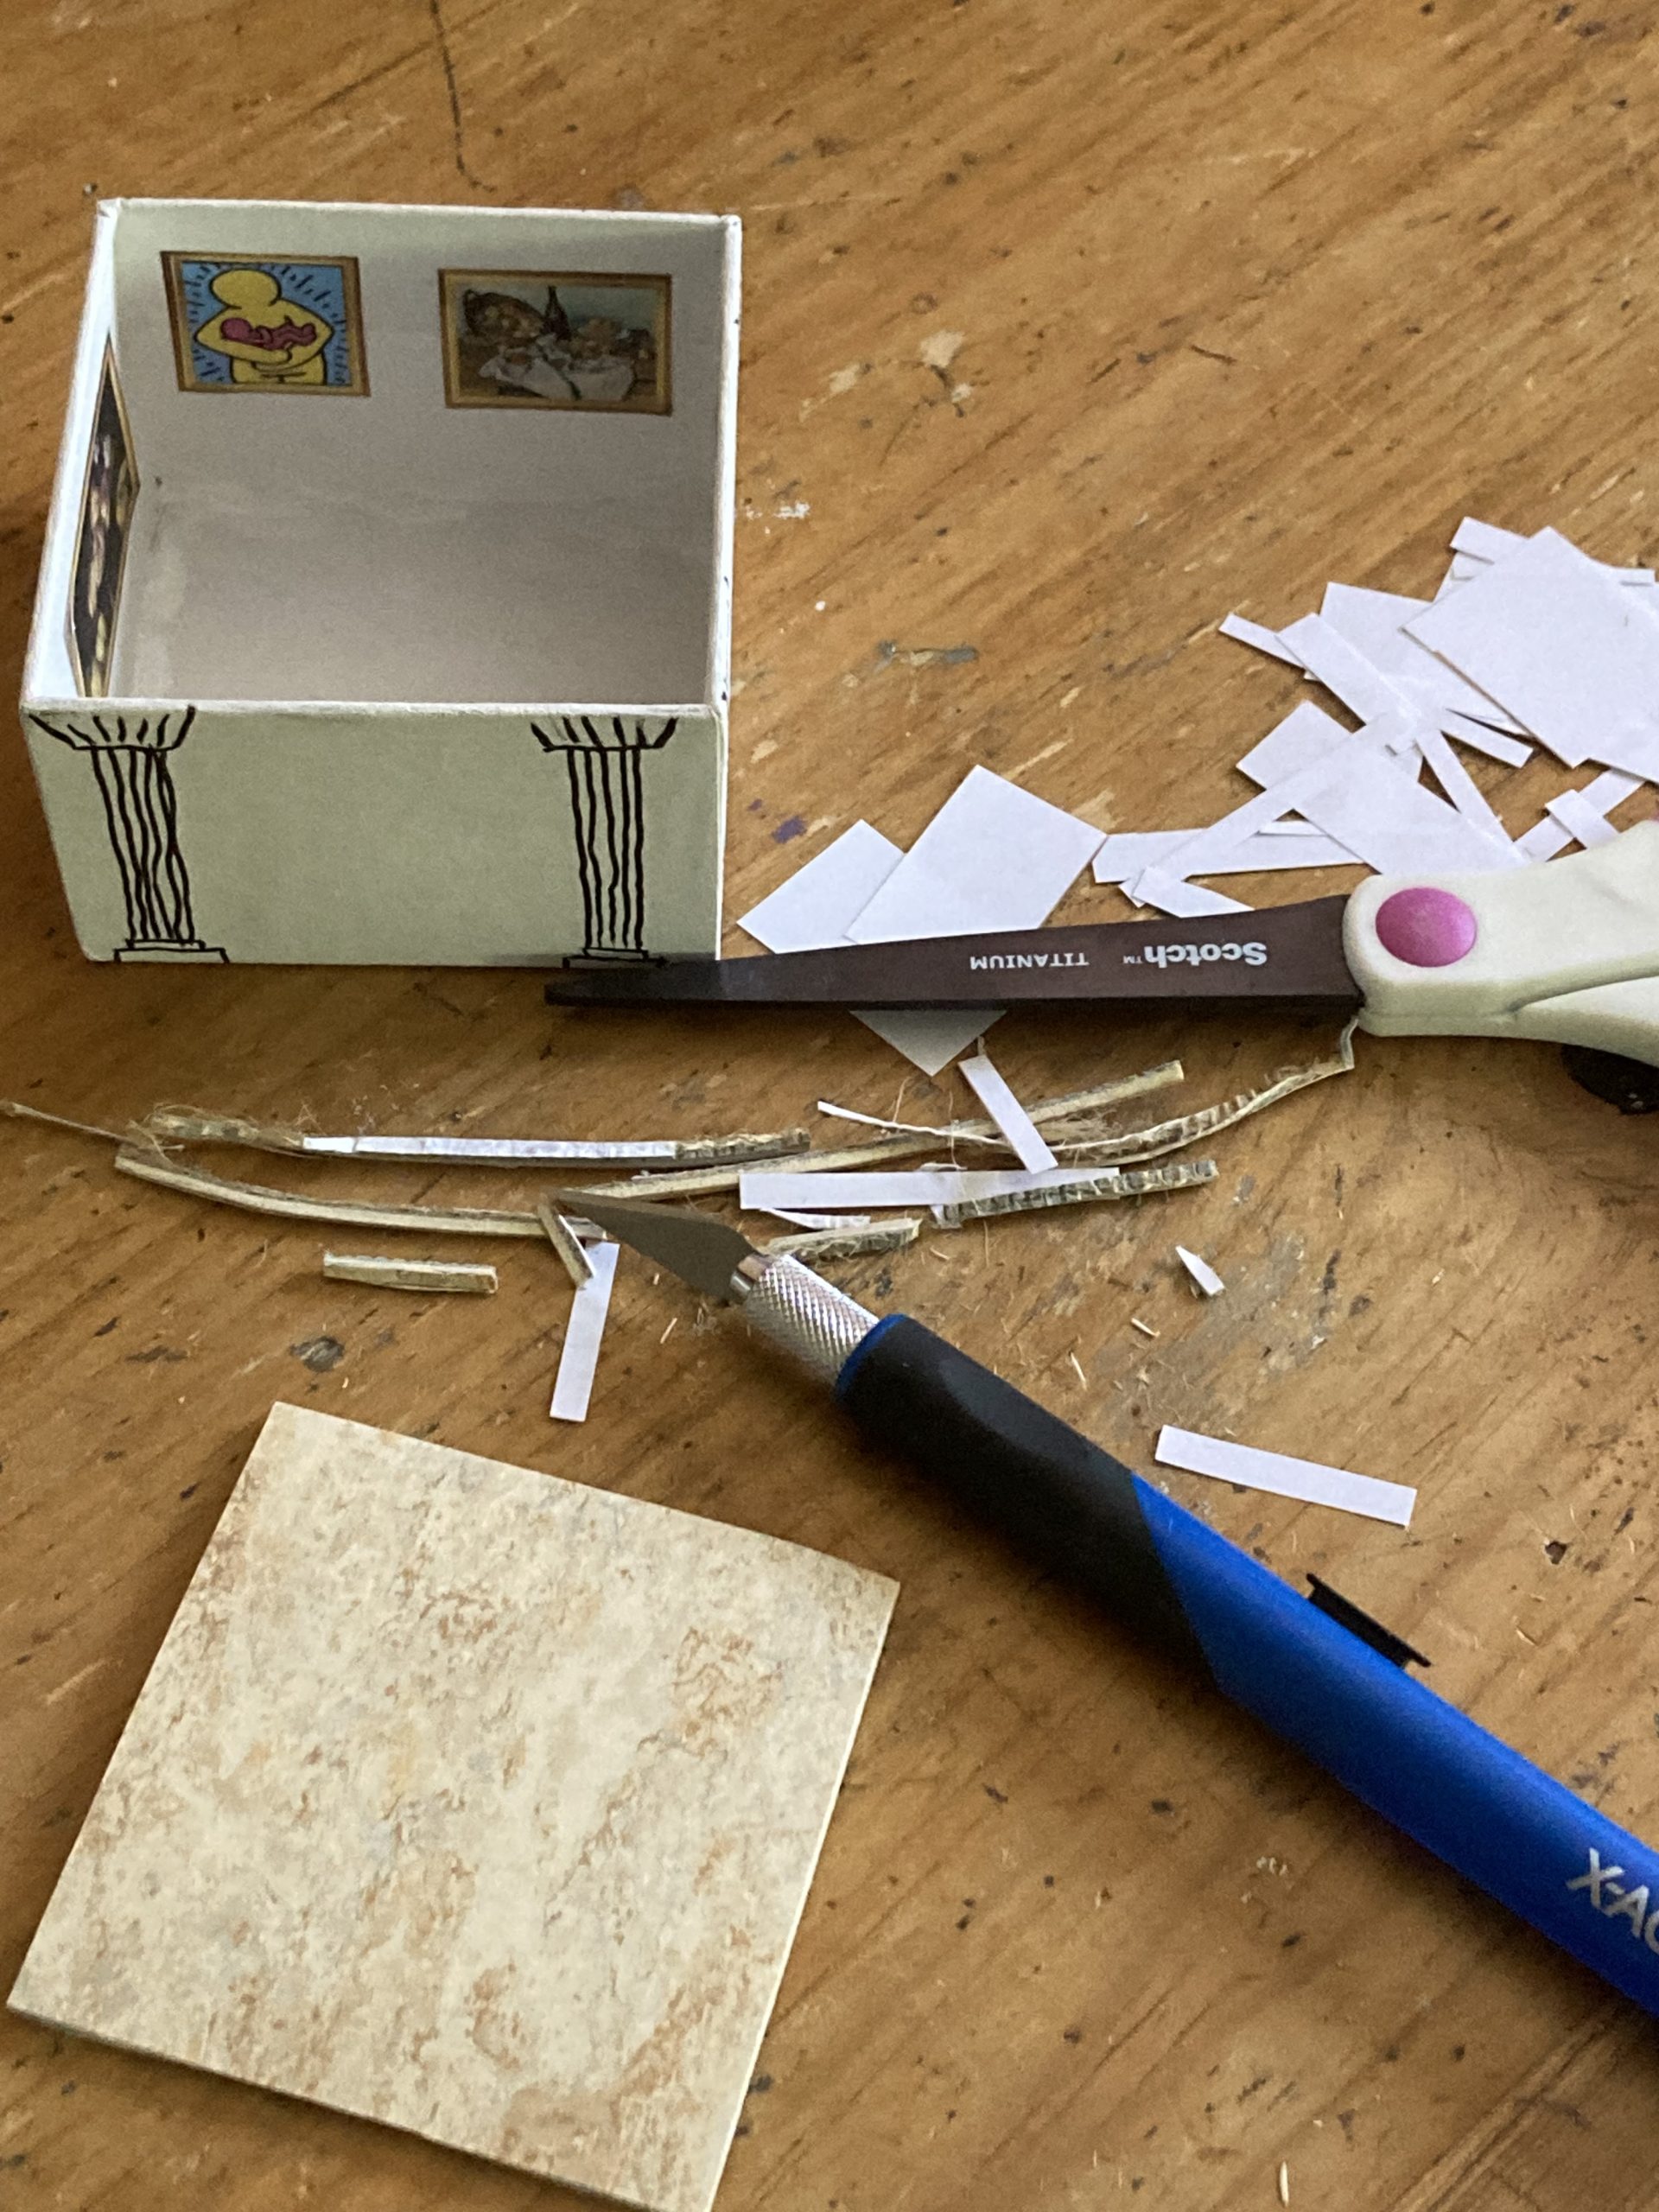
This past fall, during our Professional Development offering, I walked teachers through the following little project connected to one of my favorite childhood reads—The Mixed-up Files of Mrs. Basil E. Frankweiler. With a cardboard box, some printed images, paint, pencil, markers, a tiny linoleum sample, and a bit of glue… voilà!

This story that has stood the test of time (published in 1967) and is, in my opinion, powerful proof why we all need to read across many genres, read all kinds of stories. Every time I’ve led students through this purely fictional story set in a very real setting—The Metropolitan Museum of Art—they engage at once in the mystery, but also gain an appreciation for visual art as they wander the museum with Claudia and Jaime Kincaid.


~Kimberly Bredberg

Our English Language Arts program is built around a simple structure of Core and Application materials. When it comes to literacy, integrating the act of reading and the art of writing gets students thinking independently. Our unique scaffolding supports students as they gather information from books, both fiction and non-fiction, and challenges them to respond with original, authentic ideas. Our longitudinal Discovery MethodTM motivates students to work through the processes of writing: brainstorming, drafting, re-reading, editing, conferencing, and polishing of the final work. While engaging in our Discovery Method, students will gain, and put into practice, skills that will make their ideas shine.
Both our CORE + APPLICATION materials provide opportunities for students to:
1. Read to discover
2. Write to catalog thoughts and insights
3. Think to spark curiosity, ideas, and imagination
Our Core offering is literature based, but is much more than just a literature program. Core is an integrated literature & writing program that uses great writing to model, inspire, and springboard students into becoming great readers, writers, and thinkers.
Our Application offerings provide focused opportunities to develop the specific tools and skills needed for successful writing—vocabulary development, sentence construction, parts of speech, punctuation, rhetorical device, etc. These skills are explored alongside the specific domains of writing—narrative, persuasive, descriptive, imaginative—within various forms—paragraphs, micro stories, research, essays, poems.
While interleaved instruction is used throughout our materials, our Application offerings fall into two broad categories:
• Application 1: Grammar, Mechanics, Style
• Application 2: Research, Composition, Creative Writing


The 5-week class format for our online Pages Music classes do not require reading, but do require learning to listen to, appreciate music. After a five-week exploration of The Four Seasons by Vivaldi, 9th grader, Kingsley, translated her observations of the music to haiku.
Birds chirp melodies,
Bees swarm, dancing with the wind,
Flowers bloom softly.
Snow melts, sun rises,
Bunny hops out of its burrow, swarm,
Stretching in the warmth.
Chilling winds whisper,
Snow melting in a warming light,
Nature’s song takes flight.
They dread in the heat,
Aggression fuels their play,
Burning sun above.
Heat stifles movements,
Unquenched thirst with every step,
Beneath the blazing sun.
Bounding through the fields,
Friends laughing and running wild,
Sunshine and laughter.
Frost brushes the glass,
Blizzard painting the landscape ,
Snow dances wildly. s
Candles twinkle bright,
Their warm light dances with joy ,
Soft snowflakes drifting.
Slipping fast on ice,
Annoyed steps betray my grace,
Snow piles up high, vast.
Chatter fills the air,
Autumn’s vibrant twirl,
Yawning with tired eyes.
Soft sounds fill the air,
Floorboards hum the lullaby,
A royal banquet.
Feasting with old friends,
Laughter echoes through the halls,
A royal banquet.

Back in 2010, in the throws of educating my four alongside at least two dozen other children, I constantly doubted the path I was forging. Doubting, that is, until being invited by a friend to the newly released film, Waiting for Superman.
The film’s title comes from a powerful memory recounted by education reformer Geoffrey Canada: “...one of the saddest days of my life was when my mother told me ‘Superman’ did not exist…she thought I was crying because it’s like Santa Claus is not real. I was crying because no one was coming with enough power to save us.”
This resonated.

This movie brilliantly reminds us that reform within the public system is happening in pockets all over our nation and leaves me grateful for those reformers. But it also leaves me with an image of all the children who will shrivel because they do not have Bingo Ball 78 glowing in the palm of their little hand.
The reality is that there are wide-open plains outside of the system waiting for Lewis and Clark—perhaps the sequel?
Reform Lewis and Clark style?
A voyage of discovery?
Yes, please!
As an educator, I for one, realized a long time ago I couldn’t wait for Superman any longer. I encourage my students to slip on the Superman suit before they begin each day, reminding them Alexie style: “The suit will save your life!” Geoffrey Canada’s mother may be right, Superman is not real, but every child has talents equal to Superman’s power—the gift of numbers, the gift of humor, the gift of words, the gift of song, the gift of compassion… an endless list.
One thing this film fails to examine is the need to move beyond the workforce preparation model of education by addressing the deeper individual needs that are ignored in mass education. How can we provide opportunities for our children to develop literacy, not to mention creative thinking, if we starve individuality?
When my daughter Hannah was 10 she began working at Debussy’s Doctor Gradus ad Parnassum on the piano. One afternoon while I was scrubbing pots and pans in the kitchen, listening as she delicately worked through each new section, I called out, “Is that the Debussy?”
“No this is mine.”
I dropped the pot back into sudsy water, quickly wiped my hands, and walked to the piano, “Your piece?”
“Yes.”
“Play it for me…” and she did, jubilantly, without hesitation. Hannah was composing.
When Hannah turned 13 things began to change. She began to depend on notes more than her ear. Simultaneous to her sight-reading ability moving into the bilingual realm, she became insecure with her creative voice. No amount of coaxing would console the teenage composer to come out of hiding. She wanted to create, but in her mind her ideas never sounded just right. Hannah became paralyzed by all the things we humans become paralyzed by.
Over the course of the next few years I presented opportunities and encouraged her to engage in the process of creating. I reminded her that creating something happens with little steps that begin with an idea, “Remember Da Vinci…’Art is never finished only abandoned’.”

~Kimberly

Visual art via the craft of graphic design exists in the world everywhere we go. Music, too, is often in the background of our daily world, whether in a store or on TV. Because both influence our daily lives, we should have a more active understanding of these two significant languages.
Because music and visual art are significant branches of literacy., learning about music and art will not only help us understand, but also help us help us appreciate the arts we see on a daily basis. Learning the history of both disciplines can help us understand what we see and hear.
Our music classes concentrating on the history of music—especially in the classical and jazz era—to help students develop listening skills, an appreciation for appreciation. The historical background offers insight that, no matter the era, music brings community together. It can be daunting for a student to listen to music for half an hour that has no words. But the goal according to teacher extraordinaire, Taylor, is “to have my students enjoy music and know what they are listening too.” Our classes have a required writing element but this is always tailored developmentally. Writing about music ties the languages together through translation. The class format will not require reading, but it will require listening to music inside and outside of class.
Anyone familiar with Blackbird and Company curriculum and our philosophy, know that we promote the pencil work of handwriting from Kindergarten forward. Master teacher, Taylor, points out out that writing is a core to English, and that the the rules of phonics, for example, are presented to our students starting day one. Art on the other hand is not considered a core subject (though it should be) and most people want a free form class, want fun with crayons! Taylor agrees that free form art is important for play, but insists we need to teach skills of art-making, “We don’t just set a child down with high quality art supplies and watch them create amazing art.”
When students have a creative idea but lack the skills to bring shape to that idea, a state of frustration blankets the student.
There is a mechanics to art—a way to hold the pencil and how much pressure to apply. We are taught small finger movements to handwrite. In art we are taught to use the arm to assist in drawing a line as opposed to fingers. Wrist and arm movements can assist in making bigger lines. Learning the mechanics of art is skill learning.
This year our Pages students have been learning art skills and techniques, settling down into the basic elements of art.
Students have had beautiful ideas inspired by the listening skills and appreciation of music. They’ve gained the confidence to make beautiful, important work, that is authentically theirs.
Notice the connection between writing music and art?
Think s l o w i n g down, actively observing, doing less but better, doing it well. Writing and music appreciation and art making—this all takes time.
It’s all important.
It’s individual work.
it’s your student’s IDEA.
The possibilities are endless.
Frosty silver snowflakes were drifting down from the skies. I was thrilled because we hardly ever have snow days in California. Everyone was super cold. Our teeth were chattering and our bodies were shivering, but we ran in excitement towards the small hill behind our houses. When we got to the top of the hill, we all fell on our backs in the snow and began to make snow angels. We moved our arms and legs side to side, while opening our mouths to taste the fresh falling snowflakes. After that, we decided to slide down the hill in our newly built sleds. There was a lot of laughter in the air.


Sometimes being a teacher is a lonely job, whether we are in the classroom, the hybrid setting, or homeschooling around the kitchen table. From lesson planning to assessing growth, juggling daily lessons and independent work, not to mention pouring heart into each little person, teaching is a demanding job. And the demand falls squarely on the shoulders of the teacher.
We are working diligently to provide you with support materials such as ELA Benchmark Tracking Worksheets, Yearly Planning Schedules, and, coming soon, plans to build these schedules into annual lesson plans—all this so you can have more time to join our online community, around the virtual campfire, and all year round here on the blog, on Instagram, Facebook, and Pinterest.
You are not alone!

I used to get offended and prickly. I’m older now, and have done some thinking about this analysis. The truth is, I purposed to produce learners who could self-feed. I knew that this goal would not be achieved without intentional planning. What my children, perhaps, do not have a full-orbed understanding of is how much time I spent purchasing, planning, preparing, providing and persevering along the way, keeping the perspective of their unique persons in focus.
Yes, negentropy.
The opposite of entropy.
Negentropy is the work of becoming less disordered, which will never happen spontaneously!
This is precisely the work that we engage in when we teachers set out to plan and prepare for a new school year. I have four things to suggest that you keep in mind as you move forward into planning:
Whether your students are in elementary, middle, or high school, there is always a need for the big-picture plan. This is the first step of negentropy as you bring order and structure to your building plan. How the building blocks of learning are assembled has much to do with the end result. Skipping pieces or leaving gaps will leave weaknesses and create problems that will need to be addressed sooner or later. Referring to the bird’s-eye-view of the plan throughout the year will help keep you moving toward the larger goal being accomplished and will assist you in adjusting the plan each new school year.
The next step is to create a plan to accomplish the current year’s blocks for building. This will require some type of planning schedule or calendar. I used a master plan overview but also created separate schedules for each of my four children that were used by them daily and updated by me monthly. My oldest daughter, who now homeschools, has a master planner that has all of her children’s plans listed in one location that is shared by all. Choose a method that works for you with your style of education and engage in the work of negentropy by plotting out the daily work expectations for each subject. This detailed breakdown will allow you to look at workload, pacing, and interaction between subjects that makes sense for your students’ schedules.
One critical thing to consider as you plan is honoring the participants and their unique needs. Most programs provide some sort of suggested plan for getting through a curriculum. And Blackbird & Company ELA is no exception, offering yearly outlines, a five-weeks-at-a-glance schedule for our CORE Integrated Literature and Writing, pacing built into student guides, plus a longer planning offering coming this spring. Stay tuned. Generally speaking, at minimum you can take any text, divide its pages by the number of school days, and have some idea of how fast you need to move through the subject. But this does not take into account your family calendar, outside activities, other courses being conquered, learning struggles, or unique family situations that dictate schedule anomalies. Every year will look different. Every child develops at a different pace. One size can never fit all. This part of your planning is where you cater your plans to your people, exercising negentropy as you decide what is best for your students. This is hard work up front that paves a way for a smoother ride during the year.
Finally, expect the unexpected. This is negentropy in action—pushing against the chaos that will hit us if we fail to leave room for what we cannot know. And this is why all planning should always be done in pencil. The plan brings great benefit as a tool for purposeful progress, but there is wisdom in holding that plan loosely. From family crisis to great unseen opportunity, none of us knows what is around the next bend. We do well to allow the space and flexibility to bend with the wind when it blows, whether icy blasts or tropical breezes. And those winds will blow. This does not mean that you need to throw in the towel and give up. It means that you step back, look at the big-picture, and revamp the plan. It may mean that you readjust timelines. School can go year round, follow a traditional plan, or stretch out at a more leisurely pace into the summer. And that can look different every year!
It starts with a BIG plan, one that gets fleshed out with good curriculum that serves your special people, that enables you to nurture, and to eventually launch your wonderfully unique birdies out of your family nest. I promise you, it will not look the way you thought it would, but it will be rich, and satisfying, and so much more peaceful with the help of a plan.
~Cathi
