Posted on

On Looking Closely…

The habit of observing is habit worth developing—a habit of being.

Observation of simple objects is the best way to begin your Observation Journal—think shell, spoon, marshmallow,  apple. Begin this activity in kindergarten and continue through 12th grade! Create an annual binder of student observations—The Observation Journal. These will become terrific keepsakes.

And getting started is easy as 1, 2, 3…

One.

Trace the edges with your pencil follow along with your eyes.

Two.

Begin your sketch, following the outline edges (very  s l o w l y). Let your hand “see” all the curves and bumps that your eye sees as you look back and forth from your drawing to the apple. Don’t rush. Making a connection between the eyes and the hand is a slow motion exercise.

Three.

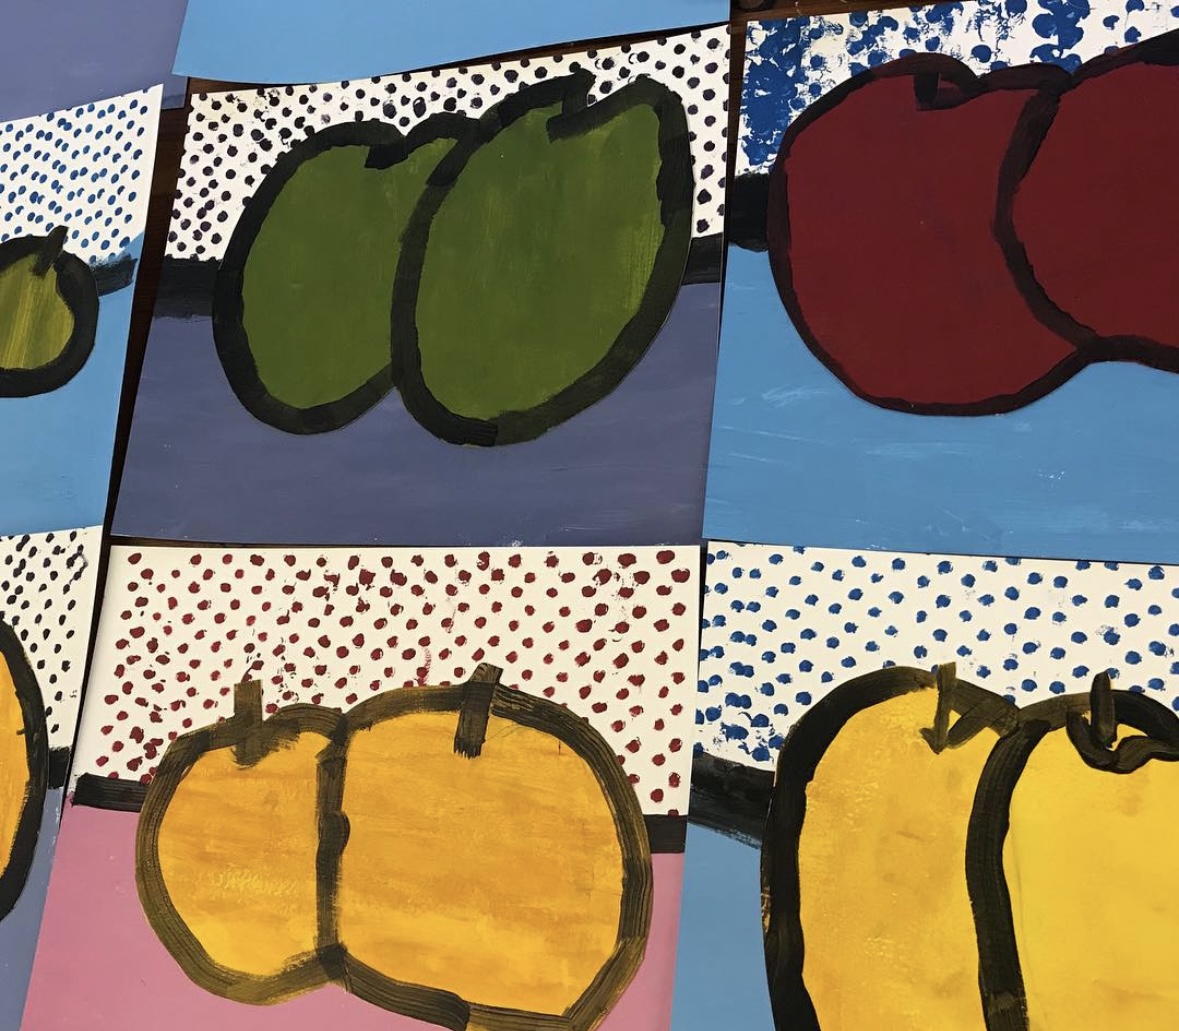
Simple observational drawings can be embellished with a wash of watercolor.  Always paint from a puddle, never directly from the pigment tiles. When creating a wash of color for a red apple, Sara reminds us that the red is not the red directly from the tile. “Red in nature is complex. Make a puddle of red and add a tiny drop of green.” It’s the same process for an orange pumpkin, add drops of the complimentary color of the object into the prominent color—a splash of blue— to achieve the natural complexity of the object’s color. Here is an advanced observation where the pinecone color is actually a blend of yellow with a touch of purple!:

A good way to get your students ready for a complex observation like this pinecone, is to engage them with simple hand held objects from the kitchen to the natural world. It is also a good idea to engage students with already flattened objects as demonstrated in the photos below:

Furthermore, have students copy drawings of artist’s. This activity helps them develop observational skills and while learning how great artists use lines.

Once the observational drawing is complete, encourage your students to do some research on the object that was observed, date the entry and add it to the Observation Journal.

As students  complete observations, encourage them to engage in clean-up—putting away materials and washing brushes and paint trays. Encourage them to reflect on what was gleaned. It’s likely that what was gained is far more than art, far more than science.

Developing the skill of observing is a habit of being that invites us to imagine possibility.


~Kimberly & Sara

Posted on

Learn with Leonardo

Look

Imagine

Create


“Whatever you do in life, if you want to be creative and intelligent, and develop your brain, you must do everything with the awareness that everything, in some way, connects to everything else.” ~Leonardo da Vinci


Observation begins with a question: What am I seeing? In a world filled to the brim with stimulation, it is easy to take our senses for granted. Though we are usually quick to have thoughts on things that we taste and smell, sight (of all things) can often be overlooked. We see so many things on a daily basis that it’s easy to forget to stop and really look.


There is nothing like art-making to engage students in active learning. Leonardo da Vinci, the quintessential Renaissance Man, made over 13,000 journal observations during the course of his lifetime, and as he did, he not only gained an enormous body of knowledge, but also created masterworks and made significant discoveries that he generously shared with the world. His influence is far reaching.

Over the course of 20 weeks, students will learn to observe from no other than the Renaissance Man himself! Students will research the life of Leonardo Da Vinci and learn to create observational drawings. Watch for our brand new unit to be released early this summer.


~Kimberly

Posted on

I Modinnari Apples

I Modinnari is a tradition that many communities have adopted to honor an Italian tradition that began way back in the 16th century. Once upon a time itinerant artists commissioned for bigger works, would,  at the close of the project, create a related work of art in tempera on the pavement.

For many years this was a tradition with my children, and later with my students. These two are perfect examples for fall. The copy below, after René Magritte’s Listening Room, was created on our driveway during COVID. The above image after inspired by Paul Cézanne’s Apples but re-imagined to fit into a particular space.

You can I Modinnari too!

Here’s How:

  1. Use a white, water-based tempera paint, to cover the space you will be using to create your art.
  2. Choose an image to copy. Apples are obviously recommended!
  3. Using a collection of chalk pastels, begin drawing and layering up colors. Begin with light colors and add darks last!


~Kimberly

Posted on

Pop Art Apples

It looks simple. It is. But what makes it read “apple” is the fact that it began with observation. The most important thing that observation teaches, is that apples are not perfect spheres.

One fun way to observe is to observe a black and white photograph. Here’s how:

  1. Take a phot of a single apple or a group of apples on your phone. Edit the photo to black and white.
  2. Turn on the edit option and choose a color of your choice.
  3. Choose an apple color for the pen tool. Have your student scribble-trace the apple contour with an Apple Pen or finger.

Now get to know artist Roy Lichtenstein. Read about him here. This is work, Two Apples, was created back in 1972. Take some time to observe. Here are some things to notice:

  1. It is horizontally oriented, divided into two unequal parts, the bottom being larger than the top.
  2. We see: Red, blue, black, and white.
  3. The apples shape is created by a strong, single outline that creates a beautiful organic shape.
  4. The stem is a single stroke of paint.
  5. The upper background is dotted.

Now you try!

  1. Begin with very light pencil drawing. Divide the horizontal space. Fill the space with two large apples.
  2. Choose colors (we recommend using gouache or acrylic paint on smooth Bristol paper) . Limit the palette to two colors, plus black and white.
  3. Paint the sold background at the bottom of the painting. Next paint the apples. Let this dry thoroughly.
  4. Next paint the dots in the upper background. This should be done slowly. Let the paint dry.
  5. Use white paint to pop a highlight onto the apple if you like (our students did not create the highlight).
  6. The very last step is to outline the apples and the horizon line with black.

When it come to apples, the possibilities are limitless! This is what the pop artist reminds us:

“Pop art looks out into the world. It doesnt look like a painting of something, it looks like the thing itself.”

There is no doubt in the viewer’s mind that these pop art apples look like the form of the real thing! This is because the artists began with observation.


~Kimberly

Posted on

The Yarn Bombed Pumpkin

Pumpkin

Yarn-bombing is a thing. 

Look it up.

This pumpkin is a project that I worked on with my family during the month of October a few years back. Let me tell you, bringing shape to this silly little idea afforded our family with a fun collaborative activity in the busy weeks leading up to Thanksgiving. It was peaceful work. We discovered it was work that taught us about the organic lines of the pumpkin. But most surprisingly, well, this project was scientifically thought provoking. This white pumpkin mummified in orange yarn did not begin rotting until July of the following year. And when it did, it only molded a bit at the bottom. In fact, only when I set it back into the garden at the beginning of the following October did it move well on it's way to dirt.  We enjoyed our pumpkin art for an entire year. And I imagine the dirt it eventually contributed to is not only nutritious, but rich with creative fodder.


Yarn bombing a pumpkin is super easy. Here's how:

1. Choose a pumpkin. 

2. Choose a yarn color. I chose orange to cover a white pumpkin but any color will do. 

3. Paint a small section with glue and cut lengths of yarn to cover the pumpkin from stem to base and begin covering the pumpkin.

Continue in this manner until the pumpkin is mummified with yarn.


-Kim

Posted on

Butterflies of Winter

 Butterfly

When the cold of winter nips at your toes, remember summer with its warm, sunny days. While you are remembering, think butterfly. Remember how they come fluttering aglow with complex design—longings and swallowtails, and of course monarchs flitting through our blossoming gardens. Of course there is butterfly activity in every season, but when the rush of flitting color slows in the cold of winter, make a butterfly garden of paper and chalk pastel. 

Here's how:

For this project we began with a goodly weighted bristol, with a bit of a tooth. Pastel paper is best, but costly. Drawing paper will do just fine too. Begin by looking closely at a real butterfly. Next, study the anatomy of a butterfly. Pay attention to the symmetry and the complexity of these wonderful creatures.

ButterflyReal


Butterflyanatomy_lg

You will need to draw the shape of two forewings and two hindwings onto the paper you have selected. After drawing, you will need to cut out the wings and fold them horizontally in accordion folds. Unfold the wings. Using chalk pastel, decorate the shapes with butterfly details. Smudge some of the color, but leave some sketch marks. Be creative, but try to keep your creativity tied to the butterfly motif.

Butterfly5
Next, cut a thin, very long triangle shape of paper and roll it up like a croissant. This will be the head, thorax, and abdomen of the butterfly. Use a hot glue gun to attach the forewings and hindwings to the body. Finish the butterfly by blending the wing colors to the body using similar colors of chalk pastel. Attach a bit of wire for the antenna. Cut a length of the wire depending on the size of the butterfly you created, bend to a V, add some beads to both ends, and attach to the head of the butterfly with a drop of hot glue. 

Continue this process to create a rabble of butterflies. You will be amazed how wonderful these creatures akin to the real thing will brighten a winter garden window.

Butterfly4

Butterfly2


-Kim

Posted on

Take a Line for a Walk

IMG_0789

Here we are again, First-Days-of-School upon us. All of us teachers are certainly prepared with a hefty handful of academic goals, each comprised of an even heftier handful of learning objectivStill I can't help but smile, as Fall sneaks in from the wings stage right, and Summer exits the wings stage left. I'm in the audience applauding joyfully, overcome with Fall-feelings. And all this smiling reminds this teacher that education is more than the academic goals I have set for the coming year.

Education is looking up in delighted silence marveling that the leaves have, once again, begun to turn gold, rust, and chartreuse.

Education is learning to enjoy process, the process of entering into a great story, the process of engaging with a mathematical problem.

Education is the ongoing engagement with the process of success and the process of failure  

Education is embarking on a journey.

Truth be told, education is a kindred relative of art-making.

So this year let's begin by inviting Paul Klee to teach our students to slow down into their important work.

As students are taught to engage in complicated activities slowly over time, they will begin to recognize that becoming educated is something far more weighty that getting the right answers. Slowing into their important work, students will enter the art of learning.

IMG_0788

Introduce your students to Paul Klee, the Swiss/German artist of the 20th century whose whimsical paintings still take the world by storm, putting smiles on the faces of viewers of all ages.

Paul Klee reminds us that "A drawing is simply a line going for a walk." So let's go for a walk with Paul Klee lines.

Begin this exercise by providing a variety of finely sharpened colored pencils or a variety of colored, fine-tipped Sharpee pens. Have your student first choose one of the line/dot compositions to copy. Begin by showing the student how to trace from one line to one dot with a finger. Tracing enables the student to experience subtle angles on the page and to map out a plan for the copywork. Once a finger tracing is complete, start in one corner of a blank sheet of good quality drawing paper and draw the first "anchor" line with one color. When it is time for a dot, choose another color. For the new line that connects to that dot, choose yet another color. Continue this process until the Paul Klee black and white line/dot drawing has been transformed to a unique colorful masterpiece all your student's own.  Please note, this exercise will take time and is best accomplished over two or three hour-long sittings. It can be accomplished by students young and old, by anyone, in fact who can manage a pencil with a willingness to try.

Finally, keep in mind, this exercise, while led by a famous artist, is not primarily an art lesson. Art is a secondary outcome. This is a lesson in slow attentive observation. It is an activity that will strengthen strategies that will be useful in all academic pursuit. Most importantly, taking a line for a work demonstrates that learning is and should be a joyful pursuit.

Happy fall to all.


-Kim

PS … and if you want to try a fun Paul Klee painting exercise, click through  

Posted on

Tiny Seed / Huge Plant

Sunflower
Our Earlybird Spring Literature and Writing Discovery Guide features The Tiny Seed by Eric Carle. Follow along with the blowing seeds as they land in different environments on Earth in this classic story with its beautiful collage art illustrations. It would be fun to plant some tiny sunflower seeds because they grow into such huge plants!

Take this opportunity to sprout some seeds and research the different stages of development. We put damp paper towels in a see through glass and put seeds next to the glass and watched them sprout over a week. 

Bean2When you do this, you are helping your student engage in multi-disciplinary learning. So go with it… pull out the Observation journal and have your student draw each step of the way. 

Bean2

Learning is so fun when it seamlessly WOWs the child!


-Sara

Posted on

Smell the Roses

SeashellsJPG
Don't forget to stop and smell the roses? 

…oh, wait!

What I meant to say is, "Don't forget to stop and observe the seashells!"

And when you do, ask yourself, "What do I see?"

Notice the organic shape. Look for the complex colors. Do you see the orange and blue making each other sing?

And whenever you observe something, make note of it in your Observation Journal like Marlo does!

Observe

Do you see how she closely observes line and texture and and shape and color inherent to the Nuttalia obscurata ("purple varnish clam")? 

Now you try.

Find an object from nature in your neck of the woods. Journal your observations using words and images.

And don't forget to smell the roses.


-Sara 


Posted on

Fibonacci on the Produce Aisle

Fibonnaci
Math is everywhere. Absolutely everywhere!

When I saw this vegetable ate the market, I stopped to ogle. It was fun to learn that it is sometimes called Romanesco cauliflower, sometimes Romansch broccoli. Either way, I was not thinking of the thing as food, only sheer math! 

Can you see it?

Whoa.

Fibonacci.

And then I thought to myself, "This is math my students can get behind." So I pulled out a book:

Fibonacci

And later I stirred up some soup and called my family to dinner.


-Kim