It’s fall! Leaves are turning. Following are three ideas to help you “switch it up” with fall leaf activities! While reading the following ideas, listen to Vivaldi, Autumn from The Four Seasons performed by the Netherlands Bach Society. This will surely get the fall mood stirring!
One.
Listen to a fall leaf story, Leaf Man by Lois Ehlert is amazing place to begin! This one is also a fall leaf favorite.
Read a fall poem.
October by Robert Frost
O hushed October morning mild,
Thy leaves have ripened to the fall;
Tomorrow’s wind, if it be wild,
Should waste them all.
The crows above the forest call;
Tomorrow they may form and go.
O hushed October morning mild,
Begin the hours of this day slow.
Make the day seem to us less brief.
Hearts not averse to being beguiled,
Beguile us in the way you know.
Release one leaf at break of day;
At noon release another leaf;
One from our trees, one far away.
Retard the sun with gentle mist;
Enchant the land with a
methyst.
Slow, slow!
For the grapes’ sake, if they were all,
Whose leaves already are burnt with frost,
Whose clustered fruit must else be lost—
For the grapes’ sake along the wall.
Two.

Stitch a leaf. These leaves began with a leaf walk. Grab a basket and collect some freshly fallen leaves. Look up and, if possible, pluck a a few fresh leaves too. Once home, observe the different shapes you collected. Trace your favorite onto a piece of felt. Felt squares can be found at your local craft store. The felt we used was purchased on Etsy from an artisan who dyes beautiful colors with natural materials. Once the leaf shape is drawn on the felt, cut out the leaf. Now stitch the veins with matching embroidery floss using a simple running stitch.


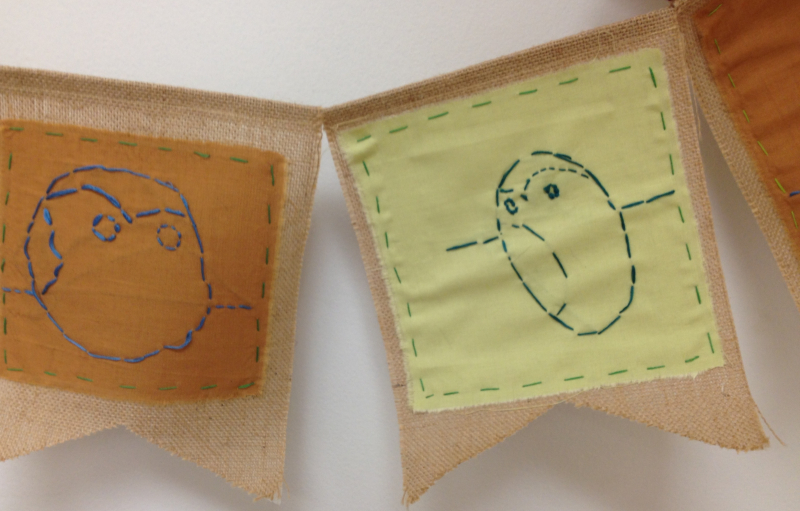
This project is a really fun throwback to a classic that my sister-in-law, Tracey, beautified with unexpected bright fall colors and simple organic shapes! These leaves, once cut, are unfolded and embellished with a hole punch (all terrific fine motor for little ones), then veins are drawn with colored pencils. String these paper leaves for a decorative fall garland. Collect them in a little basket. You might even use these leaves as a little greeting card!
Three.
Haiku are the little powerhouses of the poetry world! They are a fun challenge involving the best of word play, mixed with a little finger counting to get the syllables just right! Here’s a brief “Haiku 101” to help you get started:
1. Haiku poems consist of a three-line stanza that has a total of 17 syllables written in the following pattern:
Line 1: 5 syllables
Line 2: 7 syllables
Line 3: 5 syllables
*Slight variations in syllabication is appropriate as this helps the poet maintain the “one thought in three lines” rule.
2. Haiku poems are observations of nature, often making reference to the seasons.
3. Haiku poems are like photographs, which capture moments in time. A “haiku moment” describes a scene that leads the reader to a feeling.
4. Haiku poems were originally written as introductions to longer works of poetry and should be written as one thought in three lines.
Consider this simple, but lovely, fall haiku written by the Japanese poet, Matsuo Basho:
In the autumn night,
Breaking into
A pleasant chat.
Ready to write? Try crafting a leaf haiku. Use photos in this post to inspire.


~Kimberly