It looks simple. It is. But what makes it read “apple” is the fact that it began with observation. The most important thing that observation teaches, is that apples are not perfect spheres.
One fun way to observe is to observe a black and white photograph. Here’s how:
- Take a phot of a single apple or a group of apples on your phone. Edit the photo to black and white.
- Turn on the edit option and choose a color of your choice.
- Choose an apple color for the pen tool. Have your student scribble-trace the apple contour with an Apple Pen or finger.

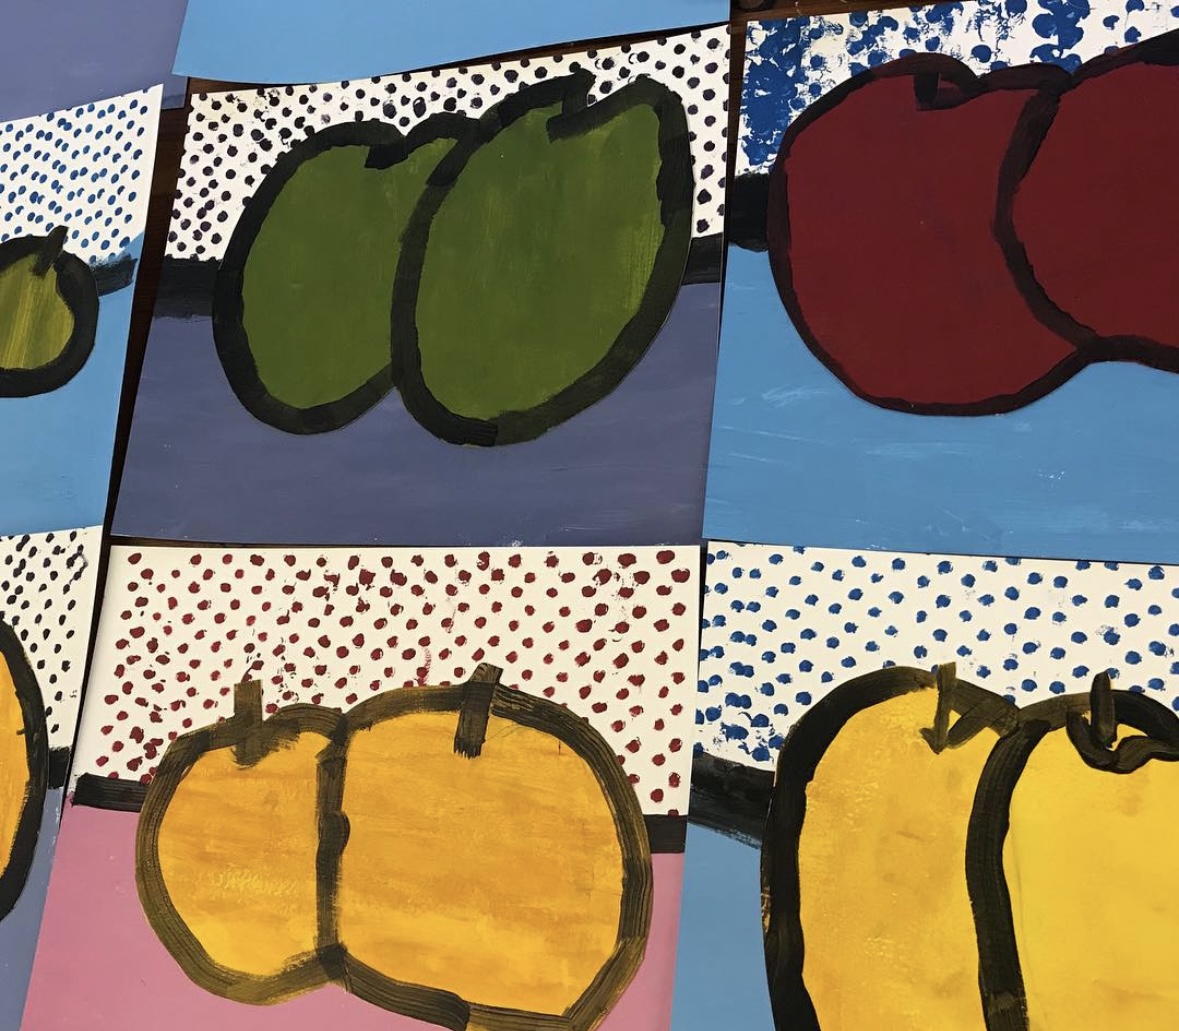
Now get to know artist Roy Lichtenstein. Read about him here. This is work, Two Apples, was created back in 1972. Take some time to observe. Here are some things to notice:
- It is horizontally oriented, divided into two unequal parts, the bottom being larger than the top.
- We see: Red, blue, black, and white.
- The apples shape is created by a strong, single outline that creates a beautiful organic shape.
- The stem is a single stroke of paint.
- The upper background is dotted.

Now you try!
- Begin with very light pencil drawing. Divide the horizontal space. Fill the space with two large apples.
- Choose colors (we recommend using gouache or acrylic paint on smooth Bristol paper) . Limit the palette to two colors, plus black and white.
- Paint the sold background at the bottom of the painting. Next paint the apples. Let this dry thoroughly.
- Next paint the dots in the upper background. This should be done slowly. Let the paint dry.
- Use white paint to pop a highlight onto the apple if you like (our students did not create the highlight).
- The very last step is to outline the apples and the horizon line with black.
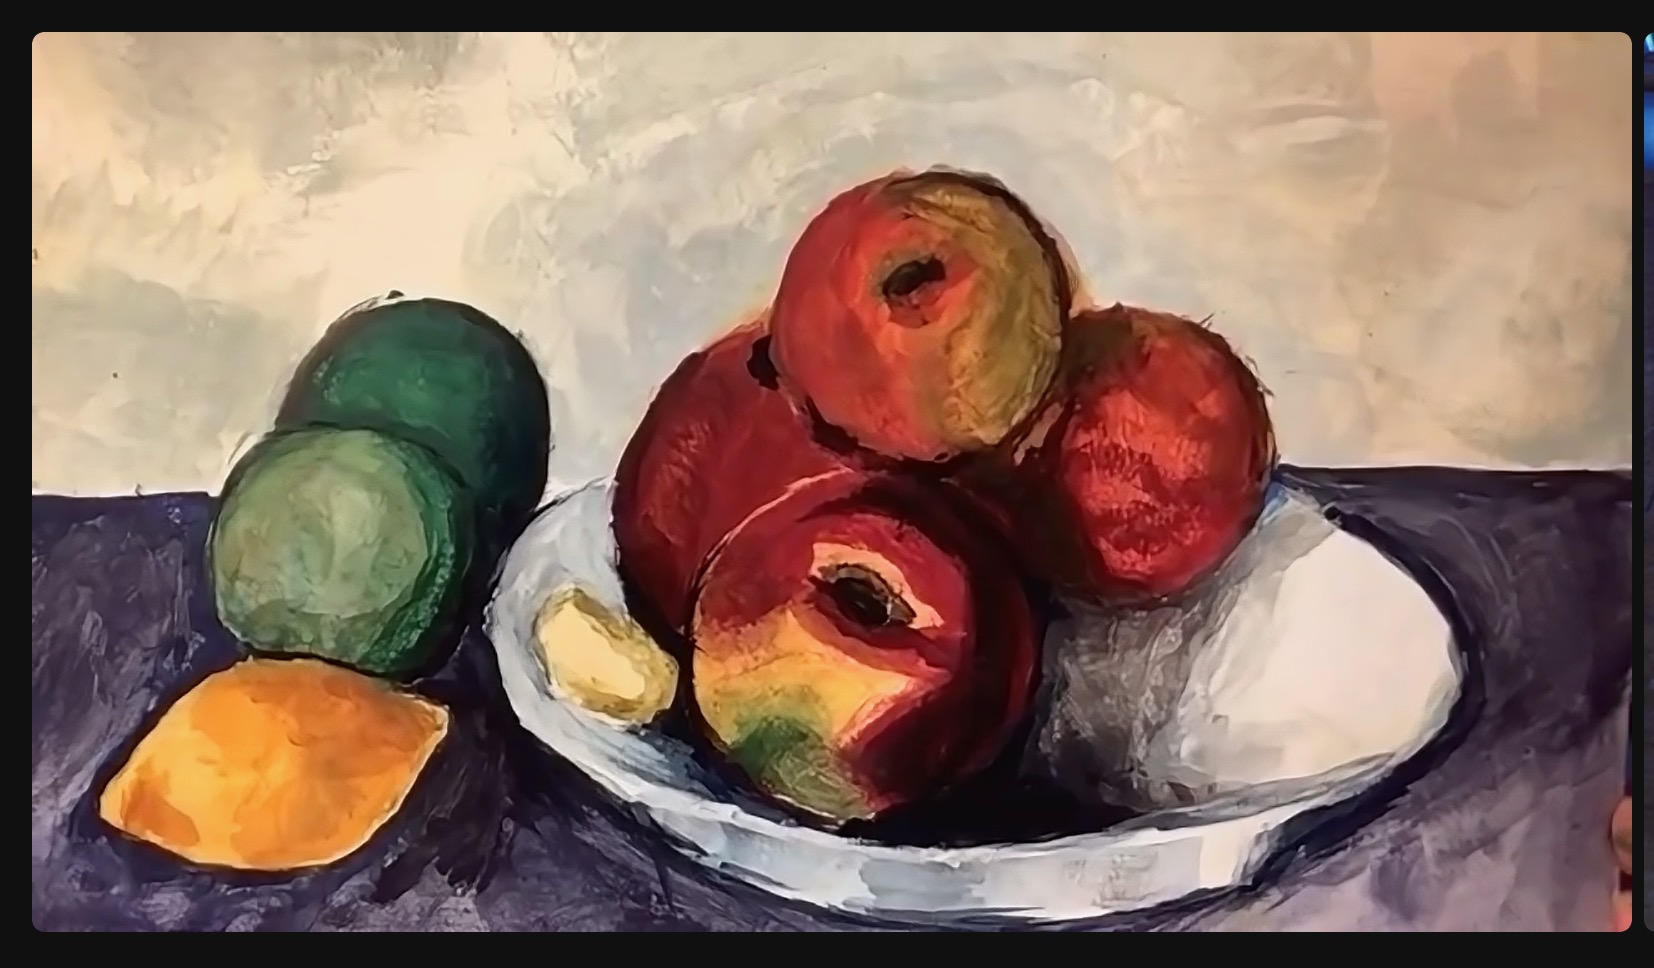
When it come to apples, the possibilities are limitless! This is what the pop artist reminds us:
“Pop art looks out into the world. It doesnt look like a painting of something, it looks like the thing itself.”
There is no doubt in the viewer’s mind that these pop art apples look like the form of the real thing! This is because the artists began with observation.
~Kimberly

 It’s fall!