Posted on

Rules for Summer

Rules? ...for SUMMER?

It’s summer and I am driving my twelve-year-old son and a group of his friends to Junior Life Guard practice at the beach. We pick up the twins and drive to another house to pick up three more. Gracie gets in the car still eating her breakfast. This gets the kids talking about “rules” for eating in the car. There is debate back and forth, should food be allowed, if so, what type of food? Crunchy? Smelly? Soggy? The list is endless, but all agree that mouths should be closed, chewing should be silent, mess should be cleaned up.

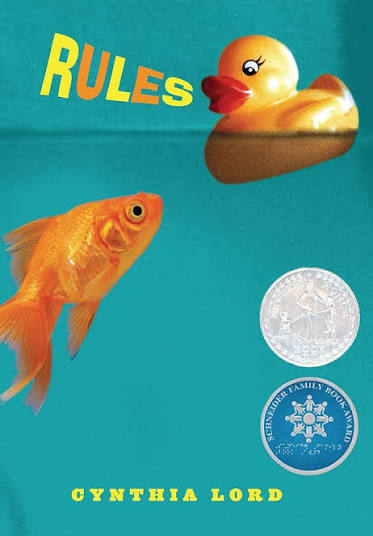
I’m currently reading a book called Rules by Cynthia Lord, in preparation for a brand new Literature and Writing Discovery Guide. The book is about a girl named Catherine who has an autistic brother named David. David has difficulty navigating social situations and needs clear rules to help him know what to do.

Some rules are easy, “Don’t stand in front of the TV when other people are watching.” Some rules are more complicated, “You can yell on the playground but not during dinner.” As you read the book you start to understand how many “unwritten rules” we give ourselves and others—rules that guide our thoughts, feelings and behaviors.

This made me think about the unwritten rules we give ourselves regarding summer. I know I have had them over the years. During my last online Pages Online class for the school year, the students had a whole discussion on what they consider approved summer activities. I remember graduating from college and being repelled by anything I felt was going to “teach” me something for an entire year!

But what if we change the rules? What if we write new rules for summer? Like: “Read everyday while feeling the sun on your face, your bare feet on the earth and your imagination running wild.” After all, when it comes to writing, we learn rules so we, as writers, can break rules! What if learning and play, curiosity, exploration, and fun for our little ones were all the same, not separate, not something to be avoided but embraced. I say learning can be all these things, and so much more—especially early learning! For this reason we are offering, once again, our Extra Play Tool Kit of Learning for TK through 2nd grade students!


Extra Playful Tool Kit of Learning

To begin, click through to discover our brand new collection of projects designed for early learners: Print Shop ABCedarian.

Gross Motor

  • Have your student write the letters they are learning outside with chalk, or paintbrush and water. It’s okay to use big fun strokes.
  • Have your student watercolor or paint letters -tracing a piece of paper.
  • Have your student collect stones, sticks or leaves and make the letters with materials.
  • Have your student write the letters in the dirt with sticks.
  • Put the card with the word or sound out on the floor or tape to the wall. Have your student hop or run or dance to the sound you say.
  • Have your student pick an animal and act like that animal while going to tag the card.
  • Go on a scavenger hunt around the house collecting or naming items that start with the sound you are working on.
  • Have your student make the shape of the letter with his body and make the sound.
  • Have your student throw a bean bag on a letter sounds or words you have learned—use the cards from Hatchling or put words on bigger pieces of paper.

Fine Motor

  • Glue buttons or beads onto a big block letter B written on a piece of 8 1/2 x 11 piece of paper.
  • Engage in a beading activity with pipe cleaners.
  • Draw wavy or zigzag lines for your students to cut, following the lines.
  • Use an eyedropper and colored water to drop into little soap saver suction cups.
  • Find pictures in magazines that start with different sounds, cut, and paste

I Spy Sounds in Books while Reading

Find pictures in books that start with the sound(s) you are working on: “Do you see anything on this page that starts with a ___ sound?” Give your child time and patience. If your child finds a sound but does not start with the sound you asked for respond in an encouraging way, praising the sound they did find. If the sound was “p” but they found “b” you might say: “Wow, you found a picture with the “b” sound,  “ball” begins with this sound! Now ask if you can have a turn too. You can model finding the “p” sound. Look I found something round too, “pizza” starts with a “p” sound.

Moveable Alphabet tips and games

  • The letters in the Moveable Alphabet are organized in alphabetical order to help students process as they see, feel, touch and do. Ask your student to find the letter (or letters) that makes the ___ sound. You can do this weekly after learning sounds, to practice and reinforce. Always have your children find the letters to match sounds and to also put away the letters when possible.
  • Have your student take the letter sound you are working on or reviewing out of the moveable alphabet box. Have your student walk around the room or permitted area and put the letter in front of any object that starts with that sound. You can play this same game with first, middle and last sound. See game below.
  • Put out letters of moveable alphabet in a sequence on the table and have letters that are missing. Have your student fill in the missing letters (examples: a__ c,  d e __,  g __i,  j  k  __).
  • Ask your student to find the first sound in a word. For example, try the word hat (this list can be the same word cards you practice with Hatchling Volume 1 or Volume 2).
  • Ask your student to find the middle sound—this will be the short vowel sound (a, e, i, o, u) in closed syllable words. Closed syllable words have 1 syllable, one vowel, and are closed in at the end by a consonant or consonants. For example, the word “dog” or “stand” are closed syllable words.
  • Play the Magic “E” game. Spell out any of the following words in the lid of the Moveable alphabet:  cap, car, spar, her, them, kit, bit, pin, twin, rod, nod, hop, glob, hug,  cub. Have your student add the Magic “E” to the end of the word and read with the long vowel sound.
  • Play “My Mistake” with your student. Once your child has completed Volume 1C, CVC words (consonant/vowel/consonant words), you can play with the words you have learned and add new ones. Using the CVC objects, spell words and make mistakes. Ask your students to check your words and ask if they are correct. If they find the mistake have them change the letter to make it correct. For example, beside the object “bag” you spell “bog” with the Moveable Alphabet. Have your student correct your mistake.
  • Play “What New Word” with your student.  After completing 1C and 1H in Hatchling, Volume 1, see if your student can make new words out of words they have learned. For example, they learned the word “bag” in Hatchling 1C. How many words can they make if they take away the letter “b” and replace with a different sound (gag, hag, jag, lag, mag, nag, rag, sag, tag, wag, zag)? Let the words be nonsense or part of a longer word or names. Have fun and be playful. The point is you want your student to identify the correct sounds.


Have fun… the thing is, when it comes to summer, PLAY is learning! The possibilities are endless!

Enjoy the “rules” you write this summer!


~Clare
Posted on

New Year / New View

Campfire Tip #2: Be on the lookout for wonder!

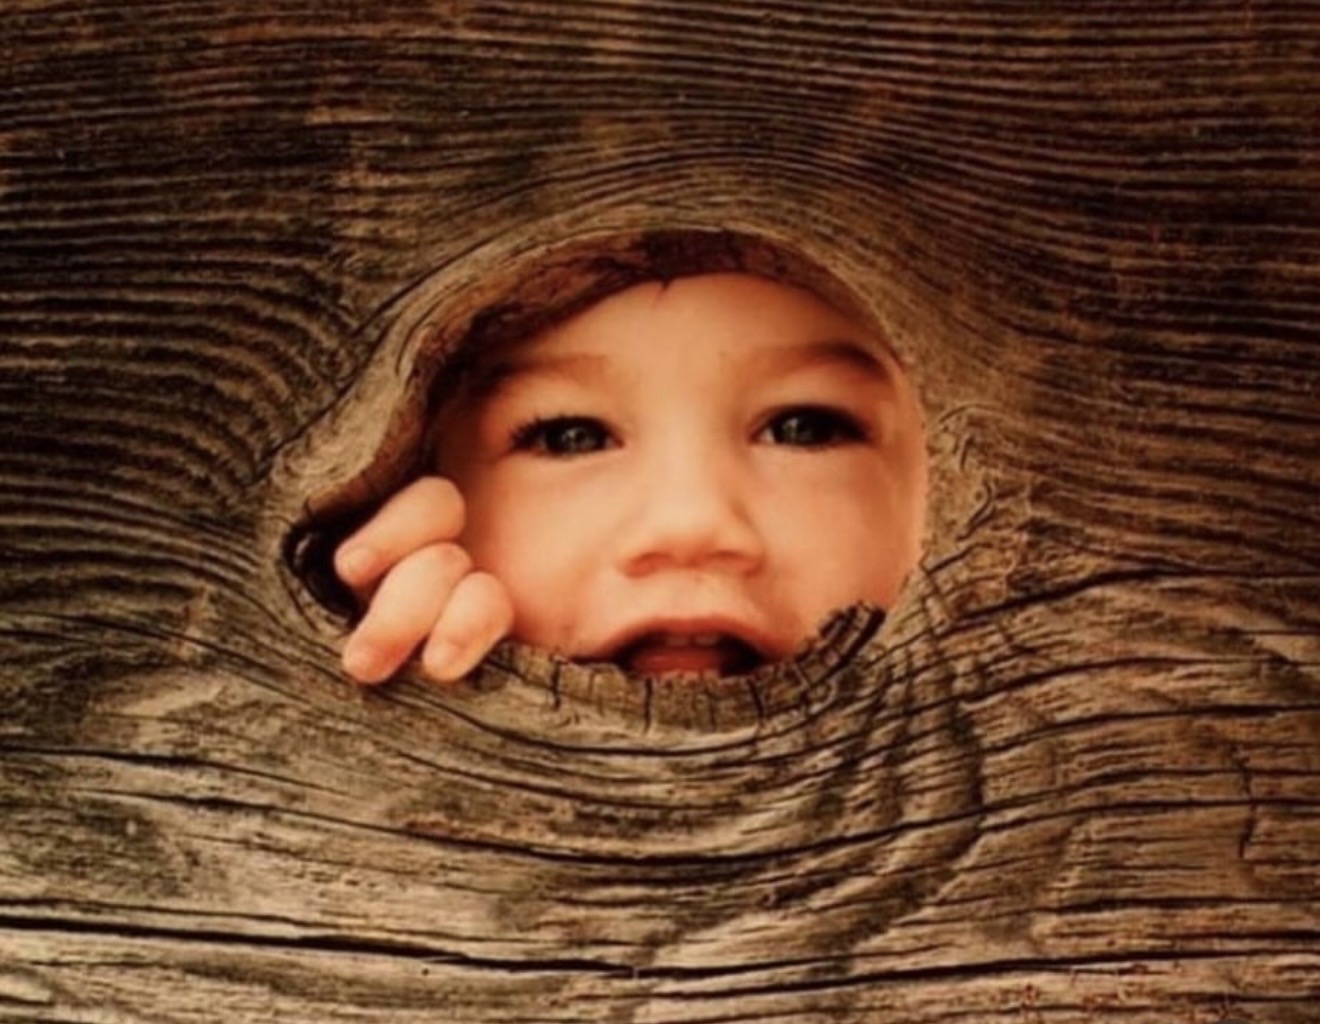
When my oldest son was a toddler, I watched him make his way toward our back yard fence toward a knothole. I watched to see what he would do. Funny thing, he just stood there. He stood there for the longest time in the silence of mid-morning. I wondered what my son was seeing. I wondered about the other side of the fence. So I tiptoed into the house, grabbed my film camera and made my way to the other side of the fence.

This is the face of wonderment.

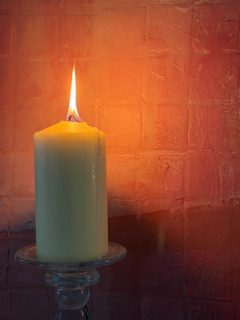
Here at the dawn of 2026, light a candle! Madeline L’Engle gave me this idea. She once said: “There is nothing that makes me happier than sitting around the dinner table and talking until the candles are burned down.” Me too!

So I’m following her lead. Today, on the second day of the year, I’m going to light a candle and let it burn down while I read a book. There is something so WONDER-full about candles and time. “Candle Clocks” are a once-upon-a-time thing. Let’s bring back the candle timer and tie it to the tradition of reading books.

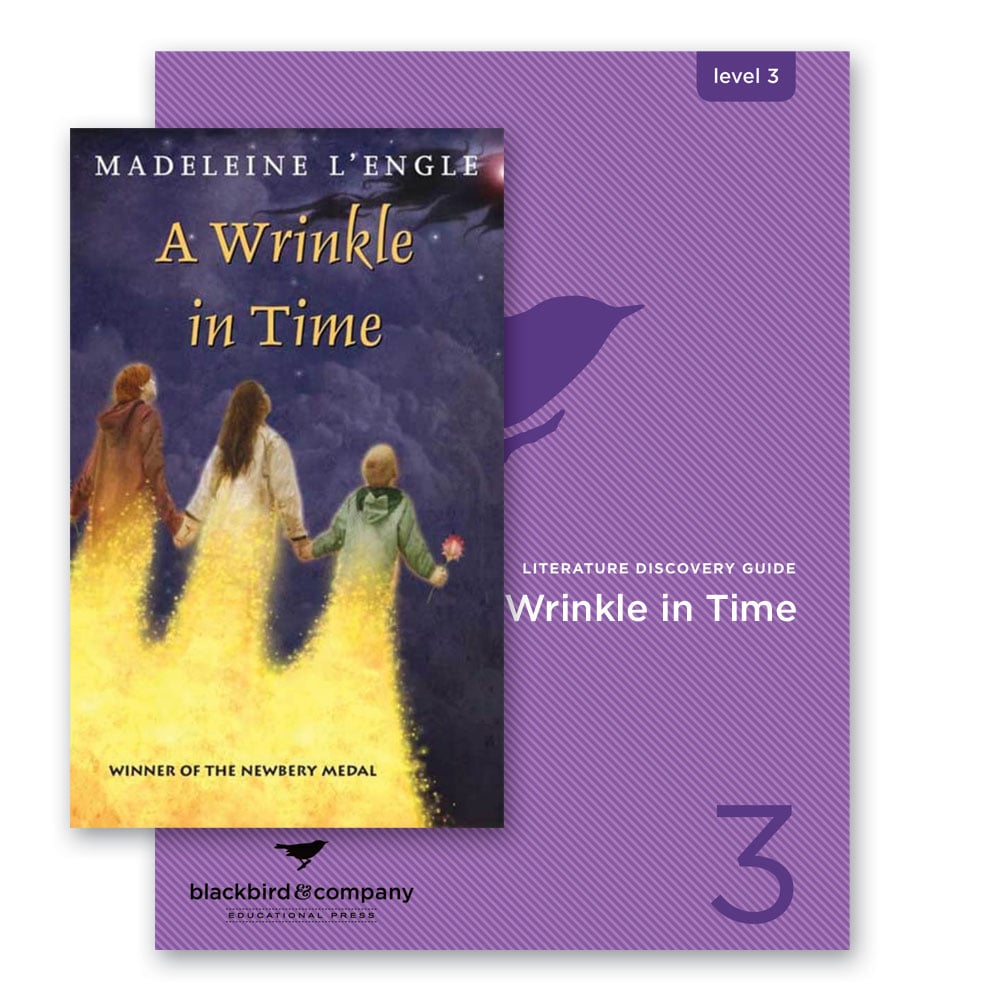
A Wrinkle in Time

So here’s to wonderment. Light a candle. Find a knothole. Have a look see.


~Kimberly

Posted on

On Looking Closely…

The habit of observing is habit worth developing—a habit of being.

Observation of simple objects is the best way to begin your Observation Journal—think shell, spoon, marshmallow,  apple. Begin this activity in kindergarten and continue through 12th grade! Create an annual binder of student observations—The Observation Journal. These will become terrific keepsakes.

And getting started is easy as 1, 2, 3…

One.

Trace the edges with your pencil follow along with your eyes.

Two.

Begin your sketch, following the outline edges (very  s l o w l y). Let your hand “see” all the curves and bumps that your eye sees as you look back and forth from your drawing to the apple. Don’t rush. Making a connection between the eyes and the hand is a slow motion exercise.

Three.

Simple observational drawings can be embellished with a wash of watercolor.  Always paint from a puddle, never directly from the pigment tiles. When creating a wash of color for a red apple, Sara reminds us that the red is not the red directly from the tile. “Red in nature is complex. Make a puddle of red and add a tiny drop of green.” It’s the same process for an orange pumpkin, add drops of the complimentary color of the object into the prominent color—a splash of blue— to achieve the natural complexity of the object’s color. Here is an advanced observation where the pinecone color is actually a blend of yellow with a touch of purple!:

A good way to get your students ready for a complex observation like this pinecone, is to engage them with simple hand held objects from the kitchen to the natural world. It is also a good idea to engage students with already flattened objects as demonstrated in the photos below:

Furthermore, have students copy drawings of artist’s. This activity helps them develop observational skills and while learning how great artists use lines.

Once the observational drawing is complete, encourage your students to do some research on the object that was observed, date the entry and add it to the Observation Journal.

As students  complete observations, encourage them to engage in clean-up—putting away materials and washing brushes and paint trays. Encourage them to reflect on what was gleaned. It’s likely that what was gained is far more than art, far more than science.

Developing the skill of observing is a habit of being that invites us to imagine possibility.


~Kimberly & Sara

Posted on

Intersection of Science and Writing

Research writing for middle school moves from research of people to research in the field of science! Over the course of eight lessons, students will explore and research the diversity of the animal kingdom—journalling what they learn each step of the way.

Have you heard of Carolus Linnaeus?

His life’s work will inspire you.

All living things can be ordered according to their common biology. Classification allows scientists to explore levels of similarity, dissimilarity, and interconnectedness of cells, systems, and structures. The first level of classification is the Kingdoms. There are five: Protista, Monera, Fungi, Plantae, and Animalia.

Here’s how this writing unit is organized:

Week 1.

SORTING IT ALL OUT

The unit begins with an introductory section for students to begin gathering information that will enable them to enter into more advanced non-fiction research writing. In this case the culminating research writing is conducted in the five kingdoms of life, from simple living things to more complex—Kingdom Monera, Protista, Fungi, Plantae, and Animalia.

Week 2.

TAXONOMY THROUGH THE AGES

In this section, students will continue to gather information that will enable them to understand the history of classification which will, in turn enable the student to, beginning in Week 4, conduct more advanced research and write an expanded, information packed paragraph tied to one of the Five Kingdoms of Life. This week culminating research writing is biographical.  This assignment can, of course, be differentiated—from simple paragraph to expanded paragraph to essay.

Sample Prompt:

RESEARCH PROJECT

Read: Classifying Living Things
» Page 27 – Linnaeus and His System

After reading the above assignment, use books or the internet to do your own additional research on Carolus Linnaeus.

Use what you learn to write a paragraph about him on the following page.

Week 3.

THE FIVE KINGDOMS

Week 3 provides the final informational notes that will set students, geared up, to write about living things through the Five Kingdoms of Life.

Weeks 4, 5, 6 7, and 8.

Weeks 4 through 8 provides the scaffolding to enable students to conduct research in each of the five kingdoms—Monera, Protista, Fungi, Animalia, Plantae. While this unit is topical, the goal is not necessarily teach biology but to help students acquire the vital skill of note-taking and the knowledge necessary to write a non-fictional idea. Simply think of the student workbook filled with the student’s new knowledge (“the notes”) as a springboard to the writing. Each week the writing can be differentiated—simple paragraph to expanded paragraph. Expand the research two more weeks, compiling one paragraph for each week (4 through 8), add an introductory paragraph, plus a concluding paragraph and, voilà, at the end of week 10 your student has completed an essay entitled: The Five Kingdoms of Life.


~Kimberly

Posted on

Pumpkin! Pumpkin!

Pumpkins are everywhere this time of year! Time to harvest, right? Following are three ideas to help you “switch it up” with pumpkin activities that will surely keep the fall mood stirring!

ONE.

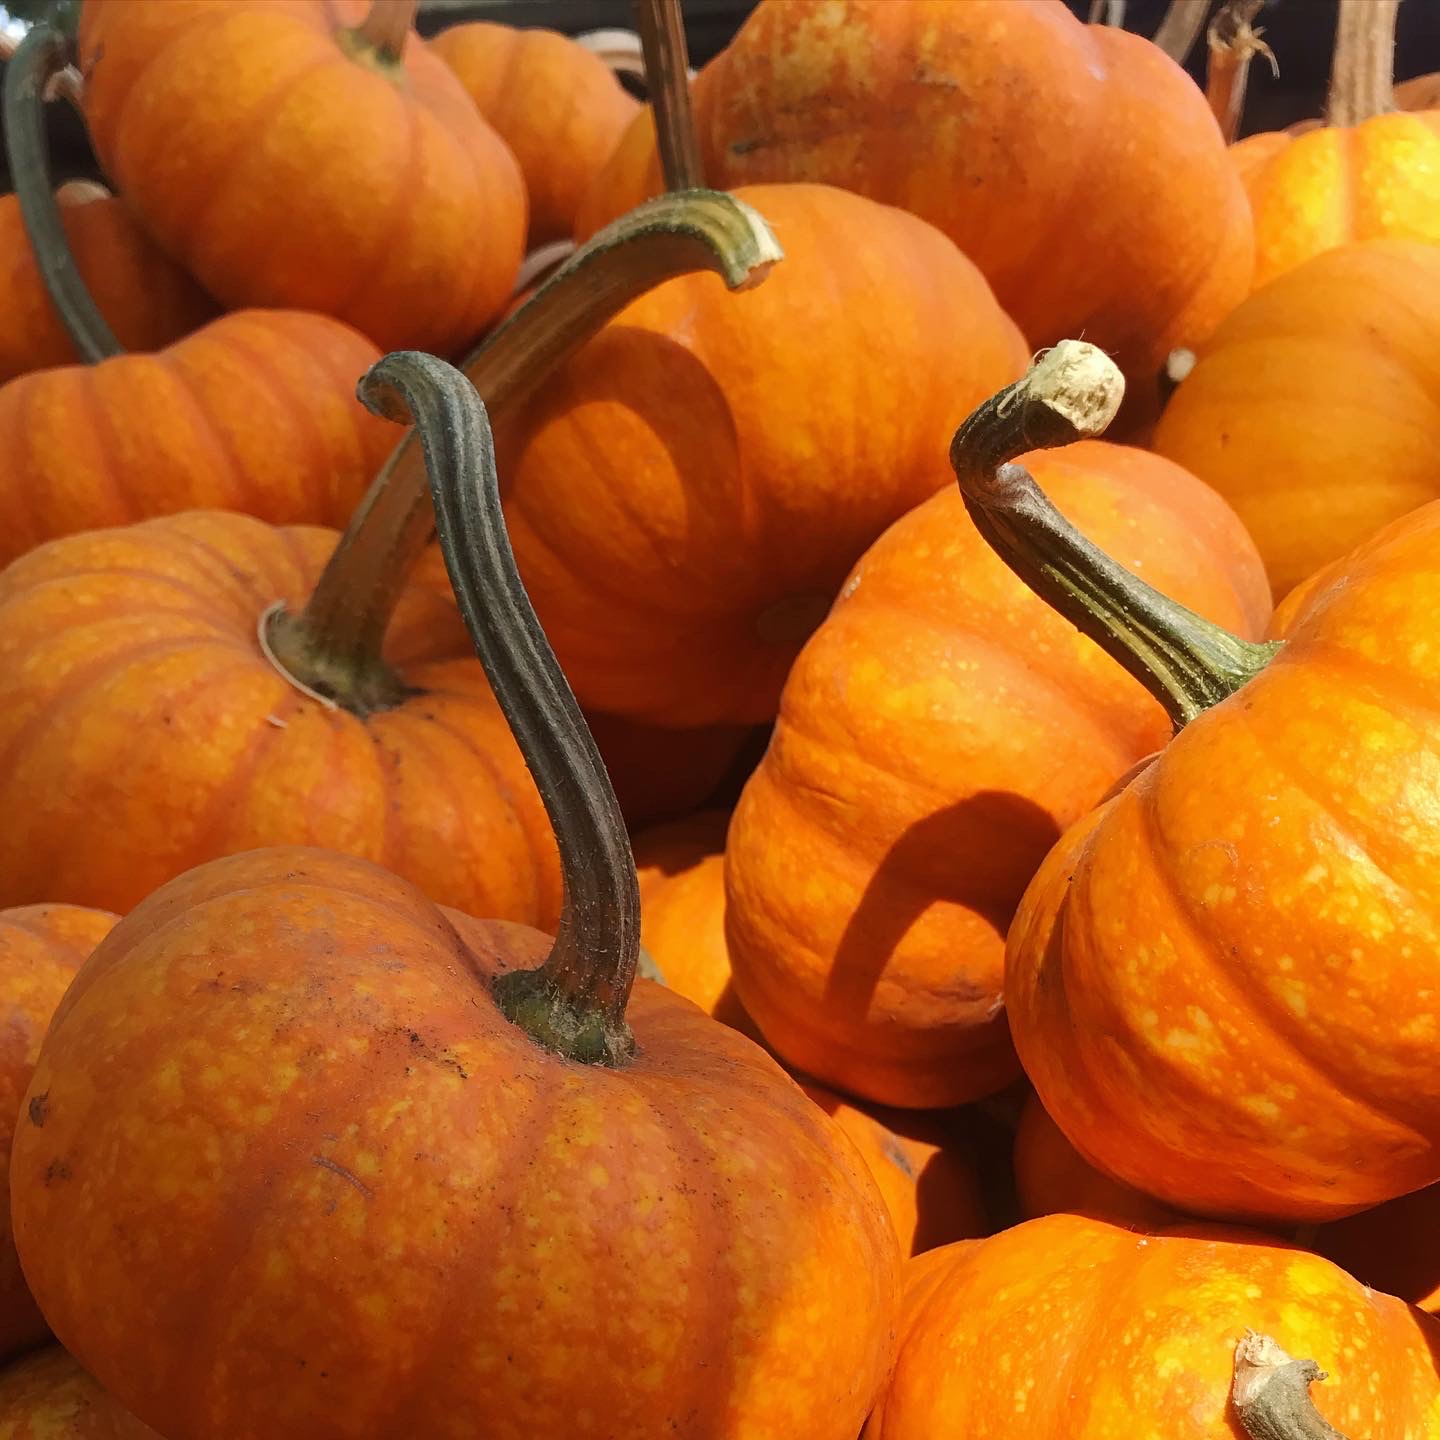
Read (or listen to) a pumpkin story, or two! How Many Seeds in a Pumpkin by Margaret McNamara, illustrated by G. Brian Karas, is a wonderful story that integrates math and inquiry.  We love this story so much that weve included it in our Hatchling for Kindergarten Collection! Pumpkin Circle by George Levenson, photographs by Shumel Thaler, is a terrific book that takes the reader on a beautiful book through the life cycle of the pumpkin. Continue the pumpkin science by observing two different pumpkins from various perspectives. Discuss discoveries. Talk about color. You might even compare colors to paint chips from the hardware store! Count the lines. Compare weight. Observe the stem and the bottom of the pumpkin. Cut the pumpkins open. Count the seeds. You might even pick up a sugar pumpkin and make a pie or some muffins! The possibilities are endless.

TWO.

Stitch a pumpkin. This one was made years ago for little hands to learn the running stitch. The pumpkin is a simple drawing cut onto fabric fused with Wonder Under, a material that allows the design to stick with heat to the background fabric. The outer frame, the bordering crooked strips of fabric, are optional. Without these, no sewing machine is necessary. Of course, if you have access to a sewing machine, by all means create a border!

Begin like this:

  1. Have your child look at and draw a pumpkin.
  2. Trace elements of drawing to the select fabrics prepared with Wonder Under—stem, body, inner shapes.
  3. Cut out the shapes, place on the background, and heat with an iron to adhere to the background.
  4. If you have a sewing machine, run a stitch around the pumpkin to add strength. If not, run a stitch by hand.
  5. Provide your child with a needle and embroidery floss in bright coordinating or contrasting colors to decorate.=

THREE.

Try to yarn bomb a pumpkin! Several years ago, I bought a white pumpkin and a skein of orange yarn. I set out scissors, glue, and the yarn in a basket next to the pumpkin. Together with my four elementary and middle school aged children we created this fun activity, one length of yarn at a time. Pant the pumpkin with glue, cut a length of yarn to reach from the stem to the underneath of the pumpkin, and attach, one by one. This slow, contemplative work is a terrific activity to set up during October!


~Kimberly

Posted on

Speaking of Apples

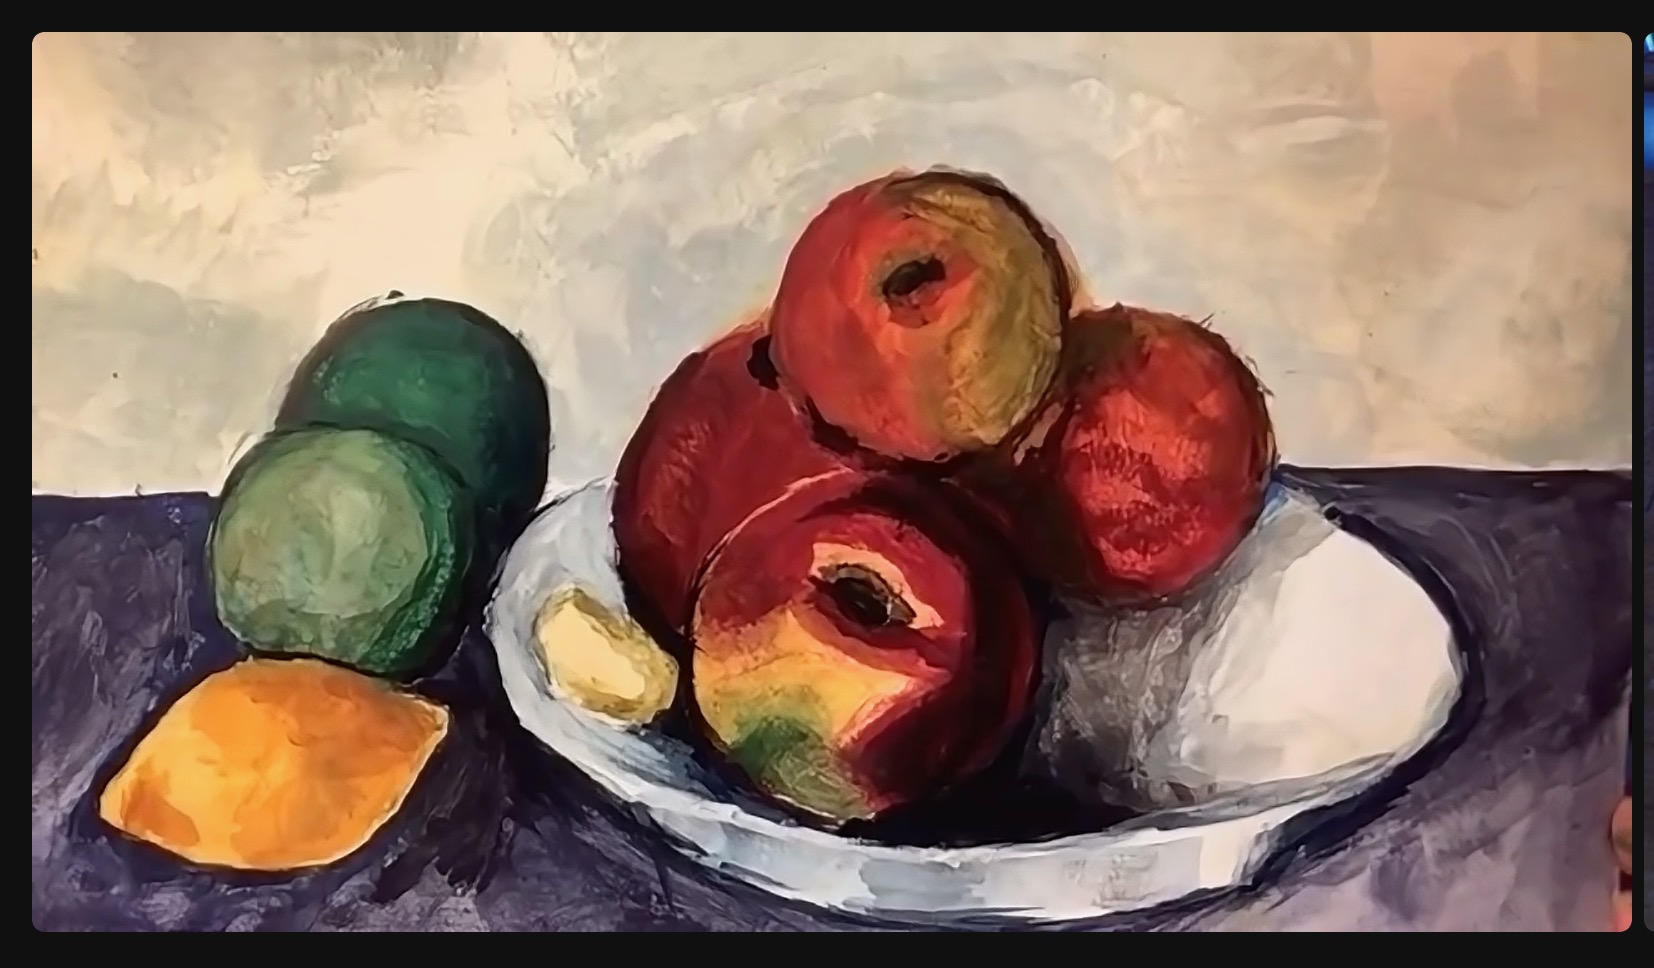
Cézanne said: “Everything is about to disappear. You’ve got to hurry up if you still want to see things.”

What does he mean?

I think he means: “LOOK!”

This little painting by 9th grader, Kingsley, was accomplished during Session 1 of Pages online live! Under the expert tutelage of Mr. Taylor,  inspired by the colorful still life paintings of Paul Cézanne, in five happy, peaceful hours over the course of five weeks, this student painting took shape.

How did she accomplish this beautiful feat?

By engaging in the slow work of observation.

The skill of observation enables us to recognize, slow down, perceive, decide, appreciate, and ultimately, to know.  Observation engages all the senses. Yes, we can see with our hands. And it is through the senses, that we will make sense of the world. But don’t take my word for it, Da Vinci, master of observation says it with eloquence:  “All our knowledge has its origins in our perceptions.”

Art making is academic.


~Kimberly

Posted on

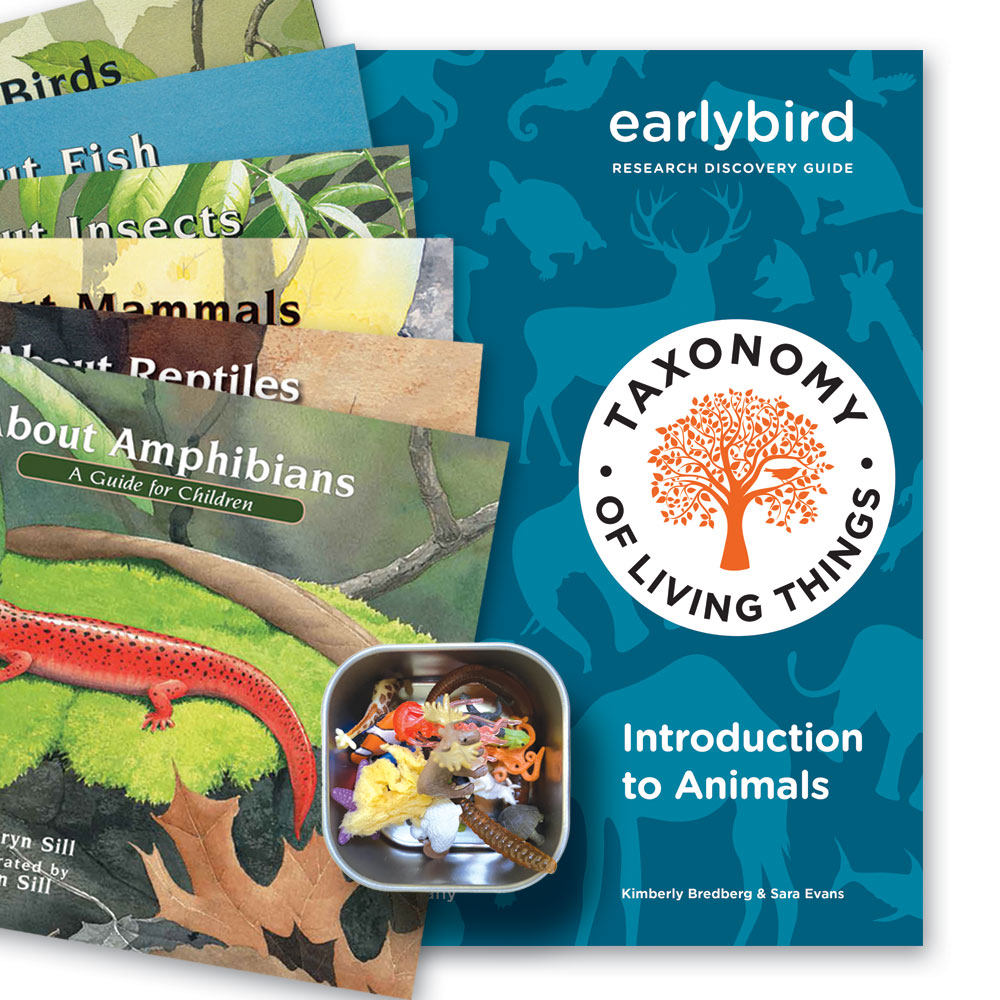
Earlybird Introduction to Animals

WE ARE HAPPY TO WELCOME OUR BRAND NEW UNIT:

Earlybird Introduction to Animals!

There are two types of things in the world: living and non-living! Everything you can imagine is one or the other. Taxonomy is the science of sorting it all out. At its basic level, taxonomy identifies, names, and classifies all living things in a systematic way.

Every species has a common name, but also a unique two-part scientific name situating it on the tree of life. In the pages ahead you will get a glimpse of the amazing order that is intrinsic to the natural world.

Over the course of 13 weeks, students will be guided into the work of learning about the animal kingdom, journaling their discoveries along the way. This opportunity to research will not only help them to gain knowledge, but also to springboard into the realm of non-fiction, narrative writing.

As with all our materials, included in the front of the journal is the instructional material. Read through this material carefully. Next, flip through the first week of the journal to familiarize yourself with the daily work of your student. Week 1 is an introduction to the science of classification. After that, students will be focusing on one class of animals every two weeks. Scan through Weeks 2 and 3, and you will notice that on the first week, the reading is tied to comprehension and note taking activities, and the second week is an opportunity to write about an animal. This ongoing, consistent opportunity for practicing constructive writing skills will help students gain confidence in their ability to communicate.

While the unit is included in our 2nd Grade Level Collection, it is perfect for both 2nd and 3rd graders, and available for purchase A La Carte.


~Kimberly

Posted on

The Yarn Bombed Pumpkin

Pumpkin

Yarn-bombing is a thing. 

Look it up.

This pumpkin is a project that I worked on with my family during the month of October a few years back. Let me tell you, bringing shape to this silly little idea afforded our family with a fun collaborative activity in the busy weeks leading up to Thanksgiving. It was peaceful work. We discovered it was work that taught us about the organic lines of the pumpkin. But most surprisingly, well, this project was scientifically thought provoking. This white pumpkin mummified in orange yarn did not begin rotting until July of the following year. And when it did, it only molded a bit at the bottom. In fact, only when I set it back into the garden at the beginning of the following October did it move well on it's way to dirt.  We enjoyed our pumpkin art for an entire year. And I imagine the dirt it eventually contributed to is not only nutritious, but rich with creative fodder.


Yarn bombing a pumpkin is super easy. Here's how:

1. Choose a pumpkin. 

2. Choose a yarn color. I chose orange to cover a white pumpkin but any color will do. 

3. Paint a small section with glue and cut lengths of yarn to cover the pumpkin from stem to base and begin covering the pumpkin.

Continue in this manner until the pumpkin is mummified with yarn.


-Kim

Posted on

Butterflies of Winter

 Butterfly

When the cold of winter nips at your toes, remember summer with its warm, sunny days. While you are remembering, think butterfly. Remember how they come fluttering aglow with complex design—longings and swallowtails, and of course monarchs flitting through our blossoming gardens. Of course there is butterfly activity in every season, but when the rush of flitting color slows in the cold of winter, make a butterfly garden of paper and chalk pastel. 

Here's how:

For this project we began with a goodly weighted bristol, with a bit of a tooth. Pastel paper is best, but costly. Drawing paper will do just fine too. Begin by looking closely at a real butterfly. Next, study the anatomy of a butterfly. Pay attention to the symmetry and the complexity of these wonderful creatures.

ButterflyReal


Butterflyanatomy_lg

You will need to draw the shape of two forewings and two hindwings onto the paper you have selected. After drawing, you will need to cut out the wings and fold them horizontally in accordion folds. Unfold the wings. Using chalk pastel, decorate the shapes with butterfly details. Smudge some of the color, but leave some sketch marks. Be creative, but try to keep your creativity tied to the butterfly motif.

Butterfly5
Next, cut a thin, very long triangle shape of paper and roll it up like a croissant. This will be the head, thorax, and abdomen of the butterfly. Use a hot glue gun to attach the forewings and hindwings to the body. Finish the butterfly by blending the wing colors to the body using similar colors of chalk pastel. Attach a bit of wire for the antenna. Cut a length of the wire depending on the size of the butterfly you created, bend to a V, add some beads to both ends, and attach to the head of the butterfly with a drop of hot glue. 

Continue this process to create a rabble of butterflies. You will be amazed how wonderful these creatures akin to the real thing will brighten a winter garden window.

Butterfly4

Butterfly2


-Kim

Posted on

Fibonacci on the Produce Aisle

Fibonnaci
Math is everywhere. Absolutely everywhere!

When I saw this vegetable ate the market, I stopped to ogle. It was fun to learn that it is sometimes called Romanesco cauliflower, sometimes Romansch broccoli. Either way, I was not thinking of the thing as food, only sheer math! 

Can you see it?

Whoa.

Fibonacci.

And then I thought to myself, "This is math my students can get behind." So I pulled out a book:

Fibonacci

And later I stirred up some soup and called my family to dinner.


-Kim