As the sun begins to set on the 2025/26 school year, I’m remembering May at my little hybrid school, Waterhouse Guild. For nearly 30 years, we would display culminating work beautifully and invite families and friends to attend our annual Salon des Artistes. The idea was to elevate the “open house” concept to an event akin to the French Salons des Artistes that began in the 19th century.
Painting began to change in response to the invention of the camera. The likes of Claude Monet, August Renoir, and Edgar Degas were not considered great artists because they were not painting classically, but impressionistically. They were rejected from exhibiting. So did they give up? NO! They created an alternative event—a Salon to exhibit their unique works.
Since Waterhouse Guild was named after the artist guilds of the Renaissance, it seemed fitting to name our end of year event after the event spearheaded by the Impressionists.
For our first Salon, when my eldest was in 2nd grade, we had a 10 students. We reserved an event room at our local library and let each student lay out their culminating work on a table of their own. And the idea grew and morphed from there.
Here is some inspration from bygone Salons:
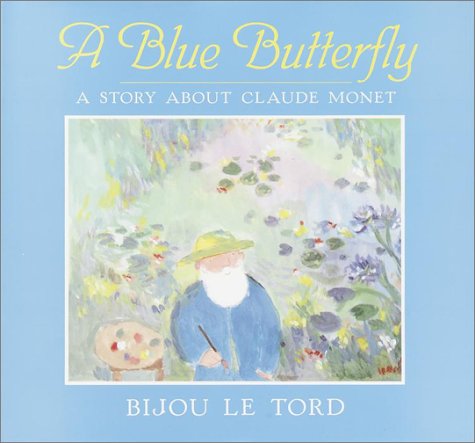
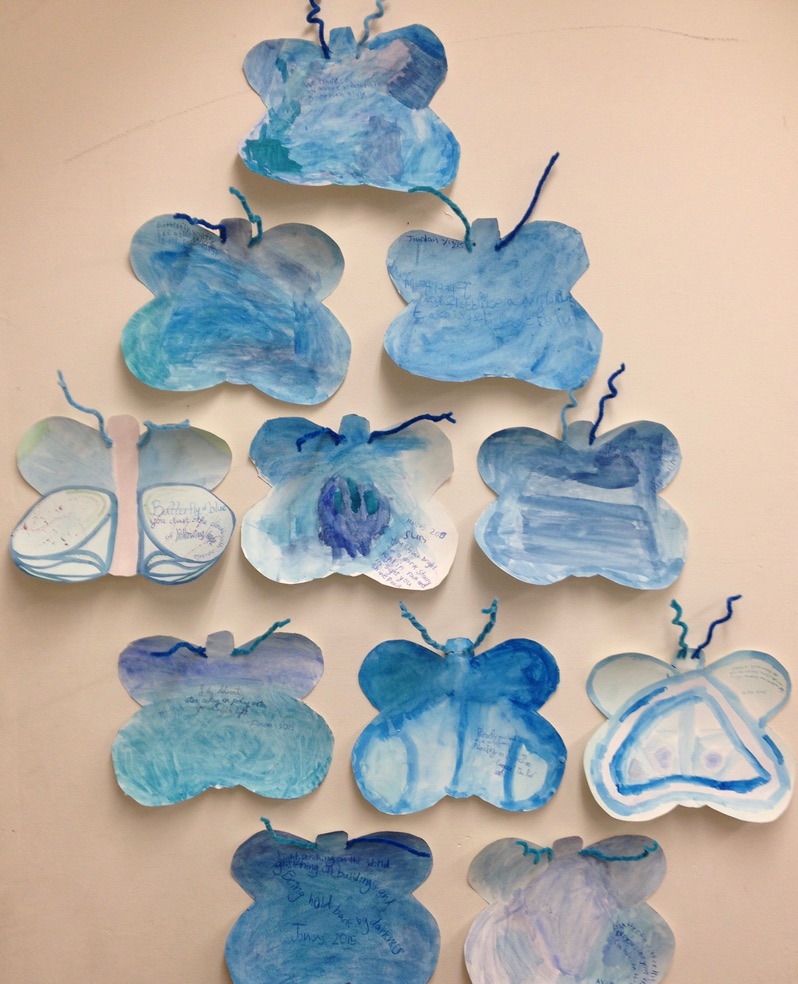
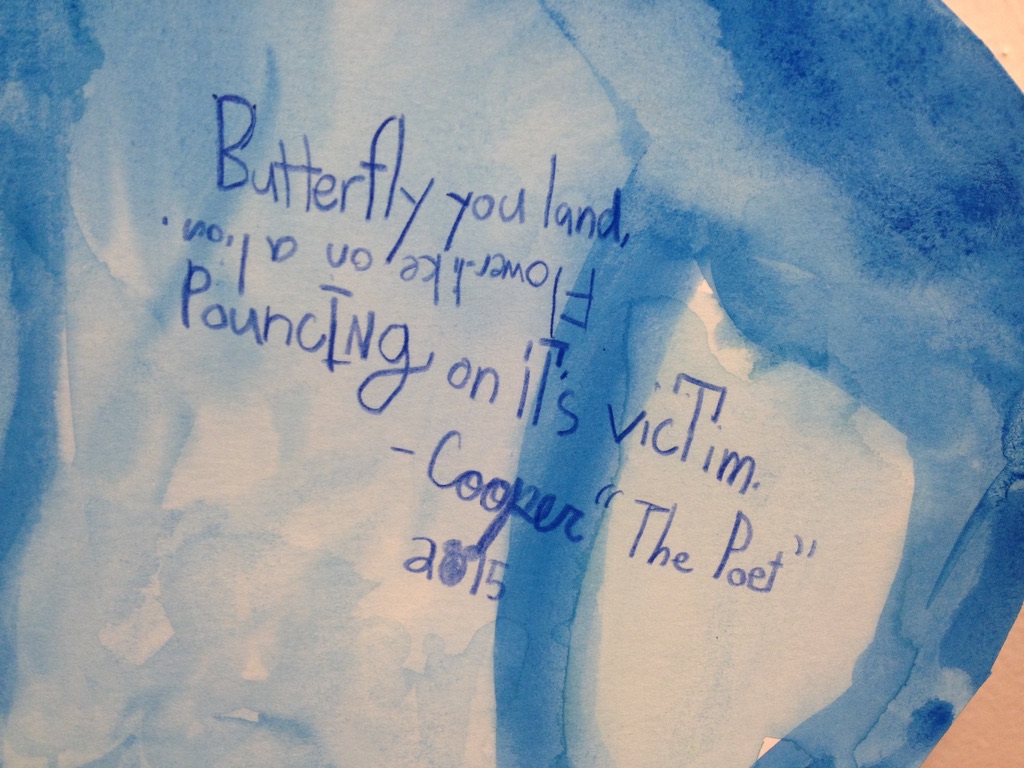
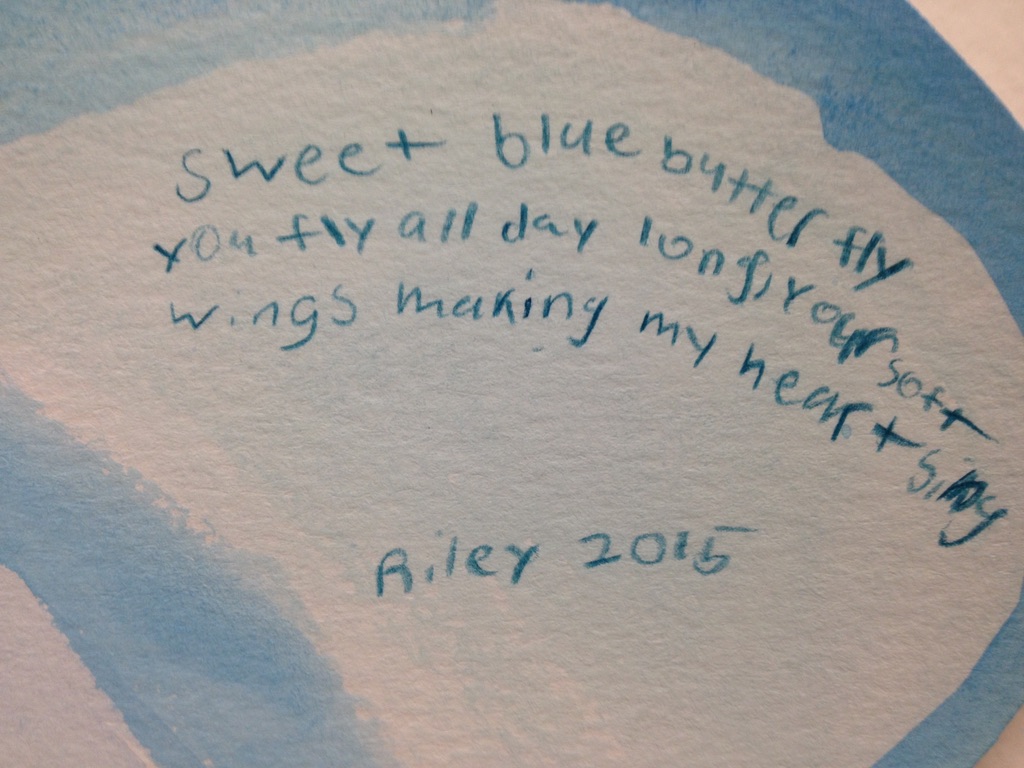
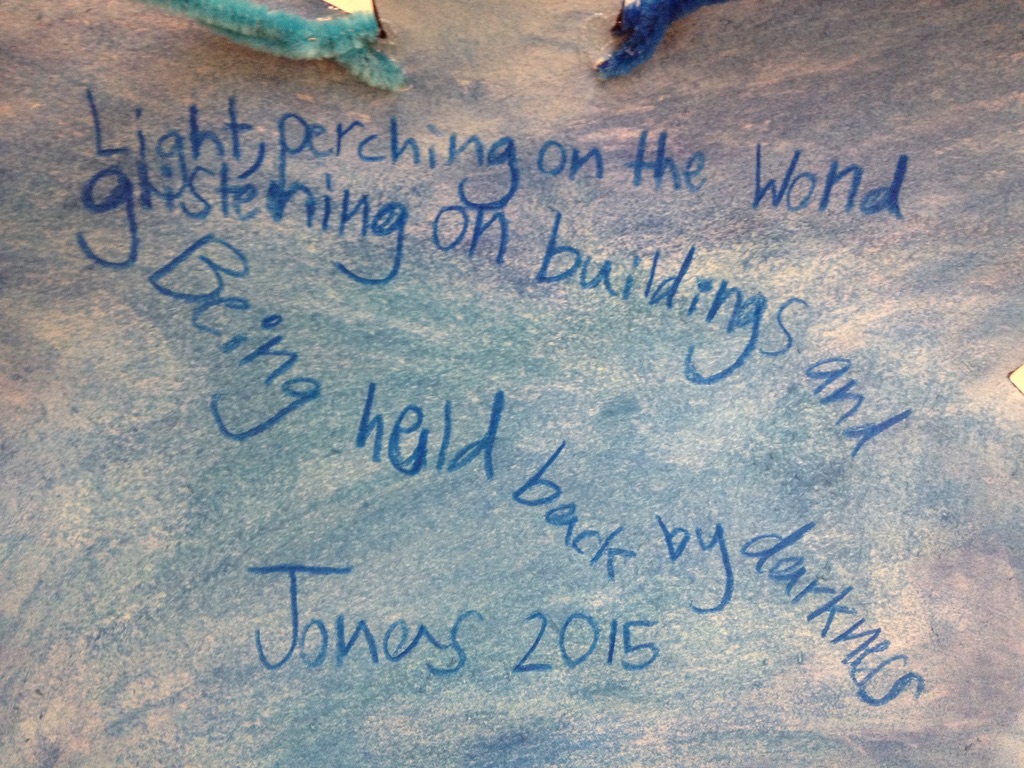
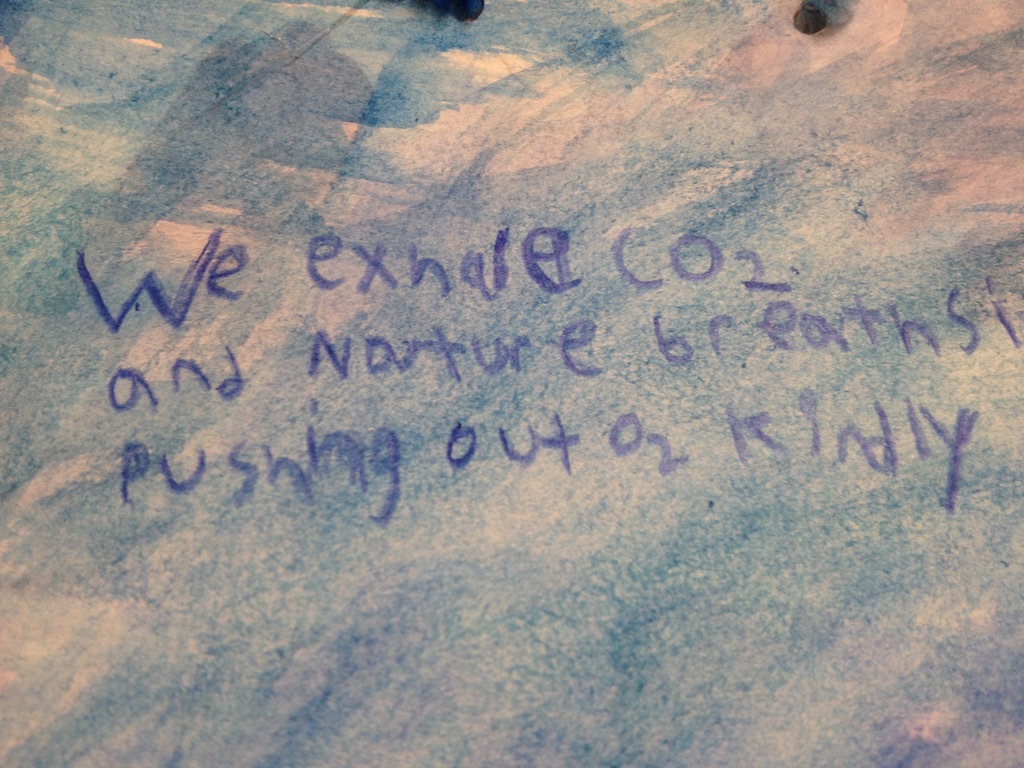
Butterfly Poetry inspired by The Blue Butterfly: A Story of Claud Money by Bijou Le Tourd.
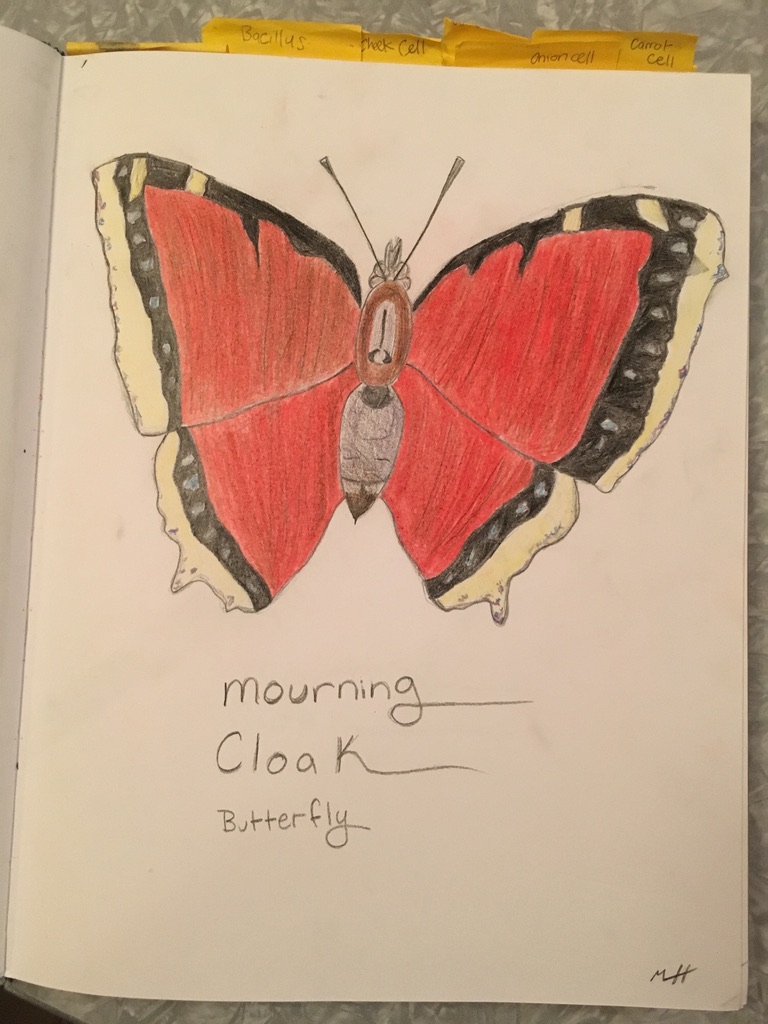
We displayed scientific observations.

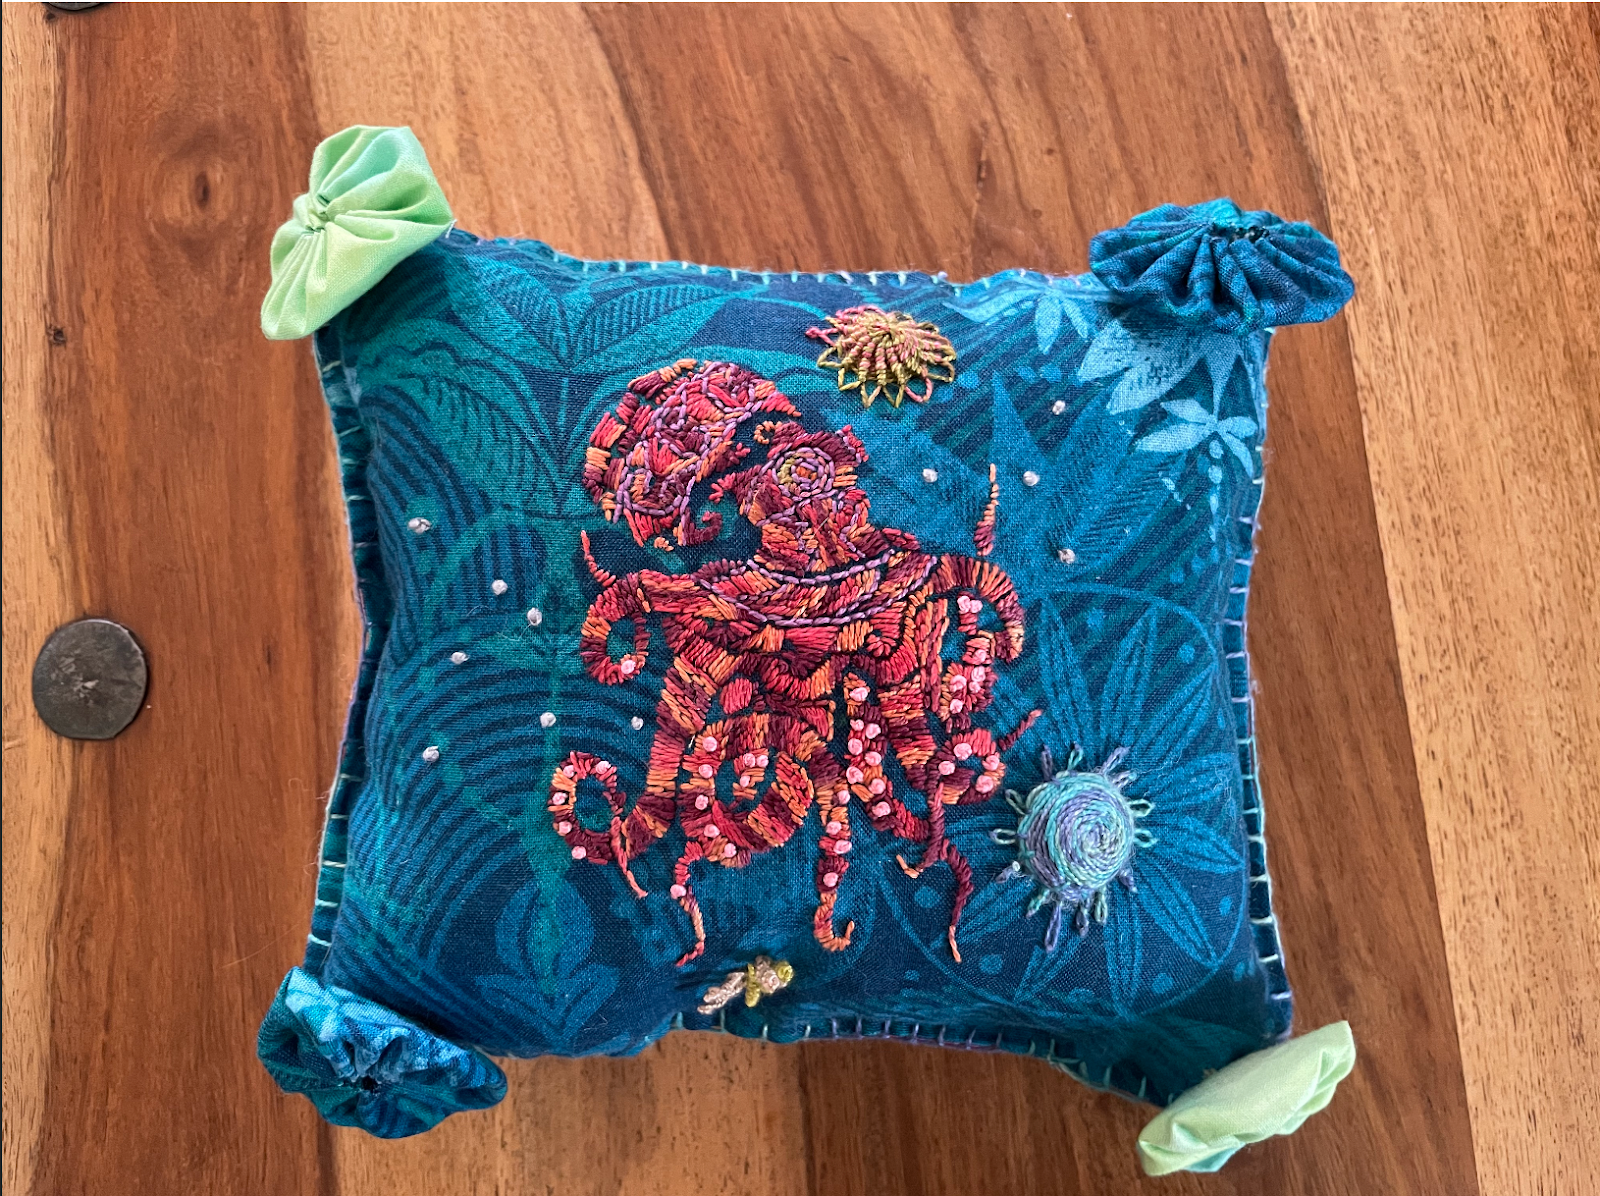
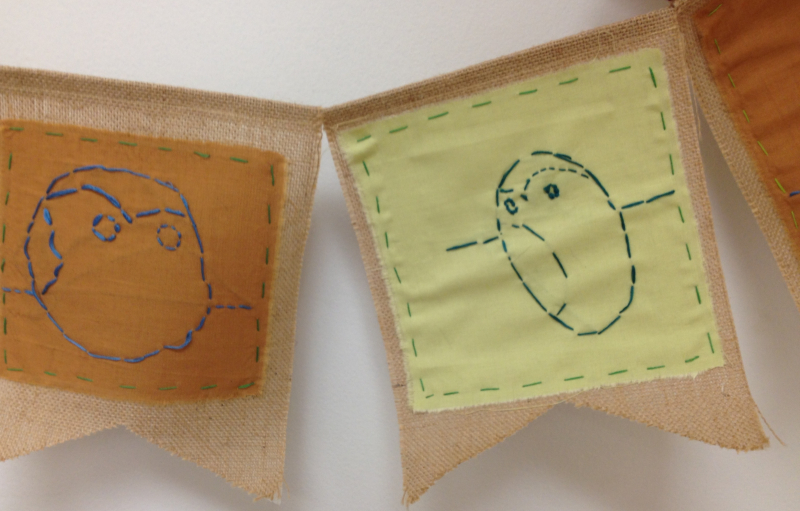
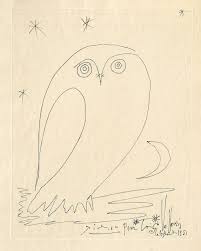
We displayed student art inspired by great artists form history. 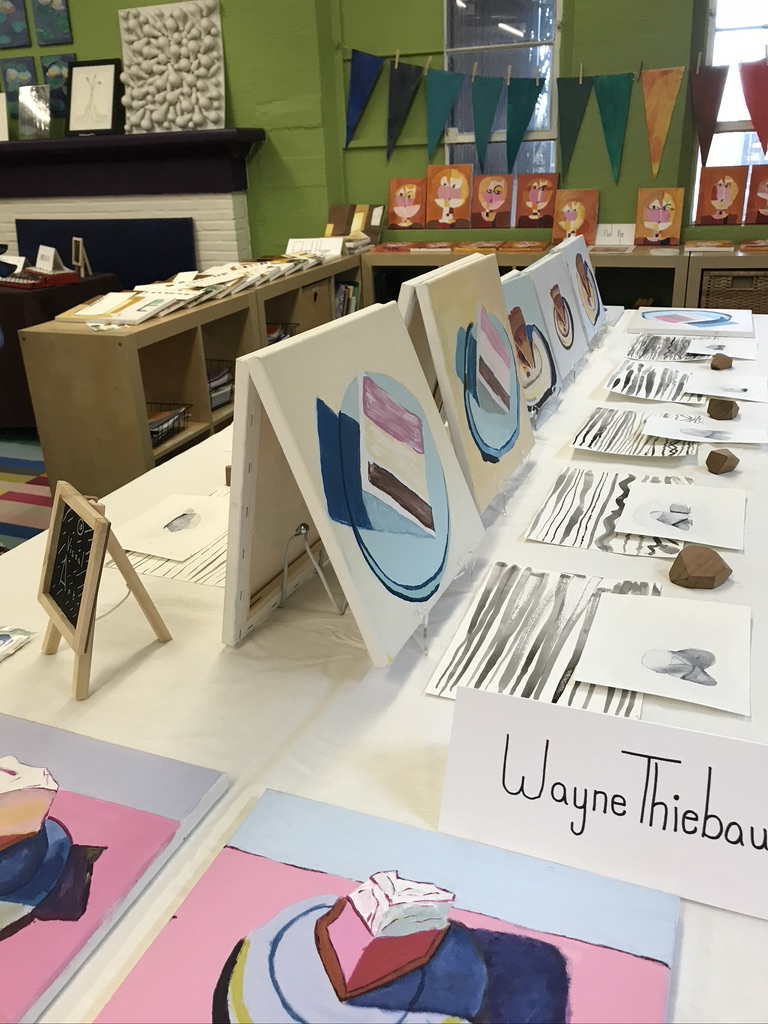
Plus some original art from imagination.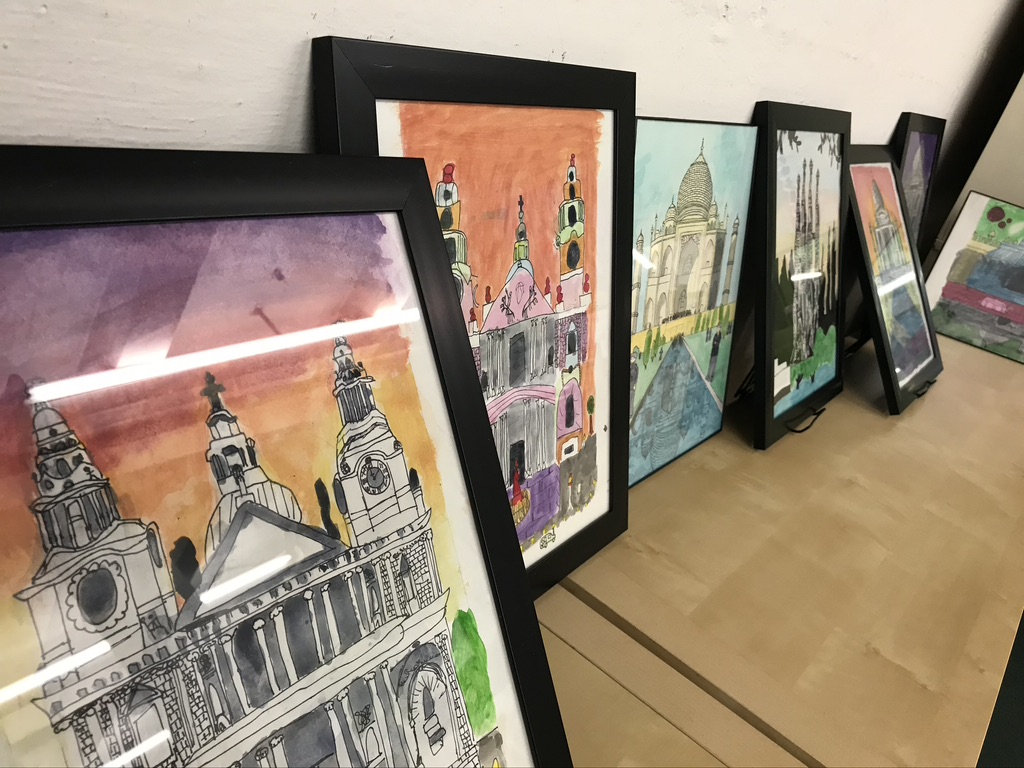
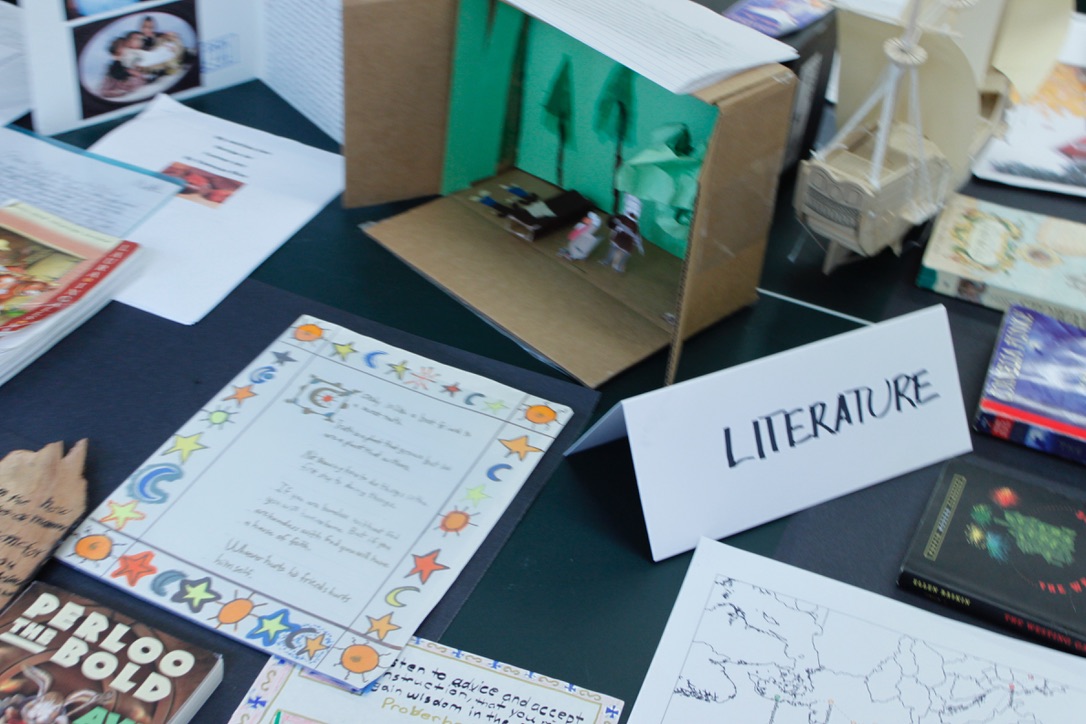
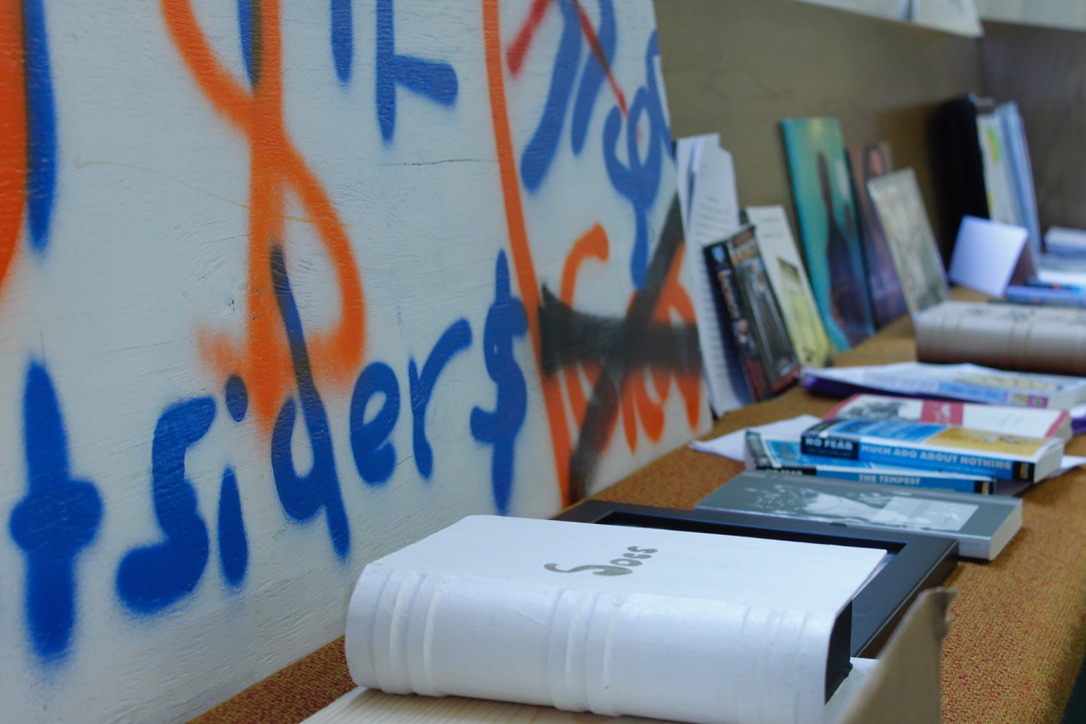
And, last but not least, we always displayed work connected to great literature.
It’s May.
I do hope you will carry on the tradition of celebrating student accomplishment.
It’s Salon season!
~Kimberly
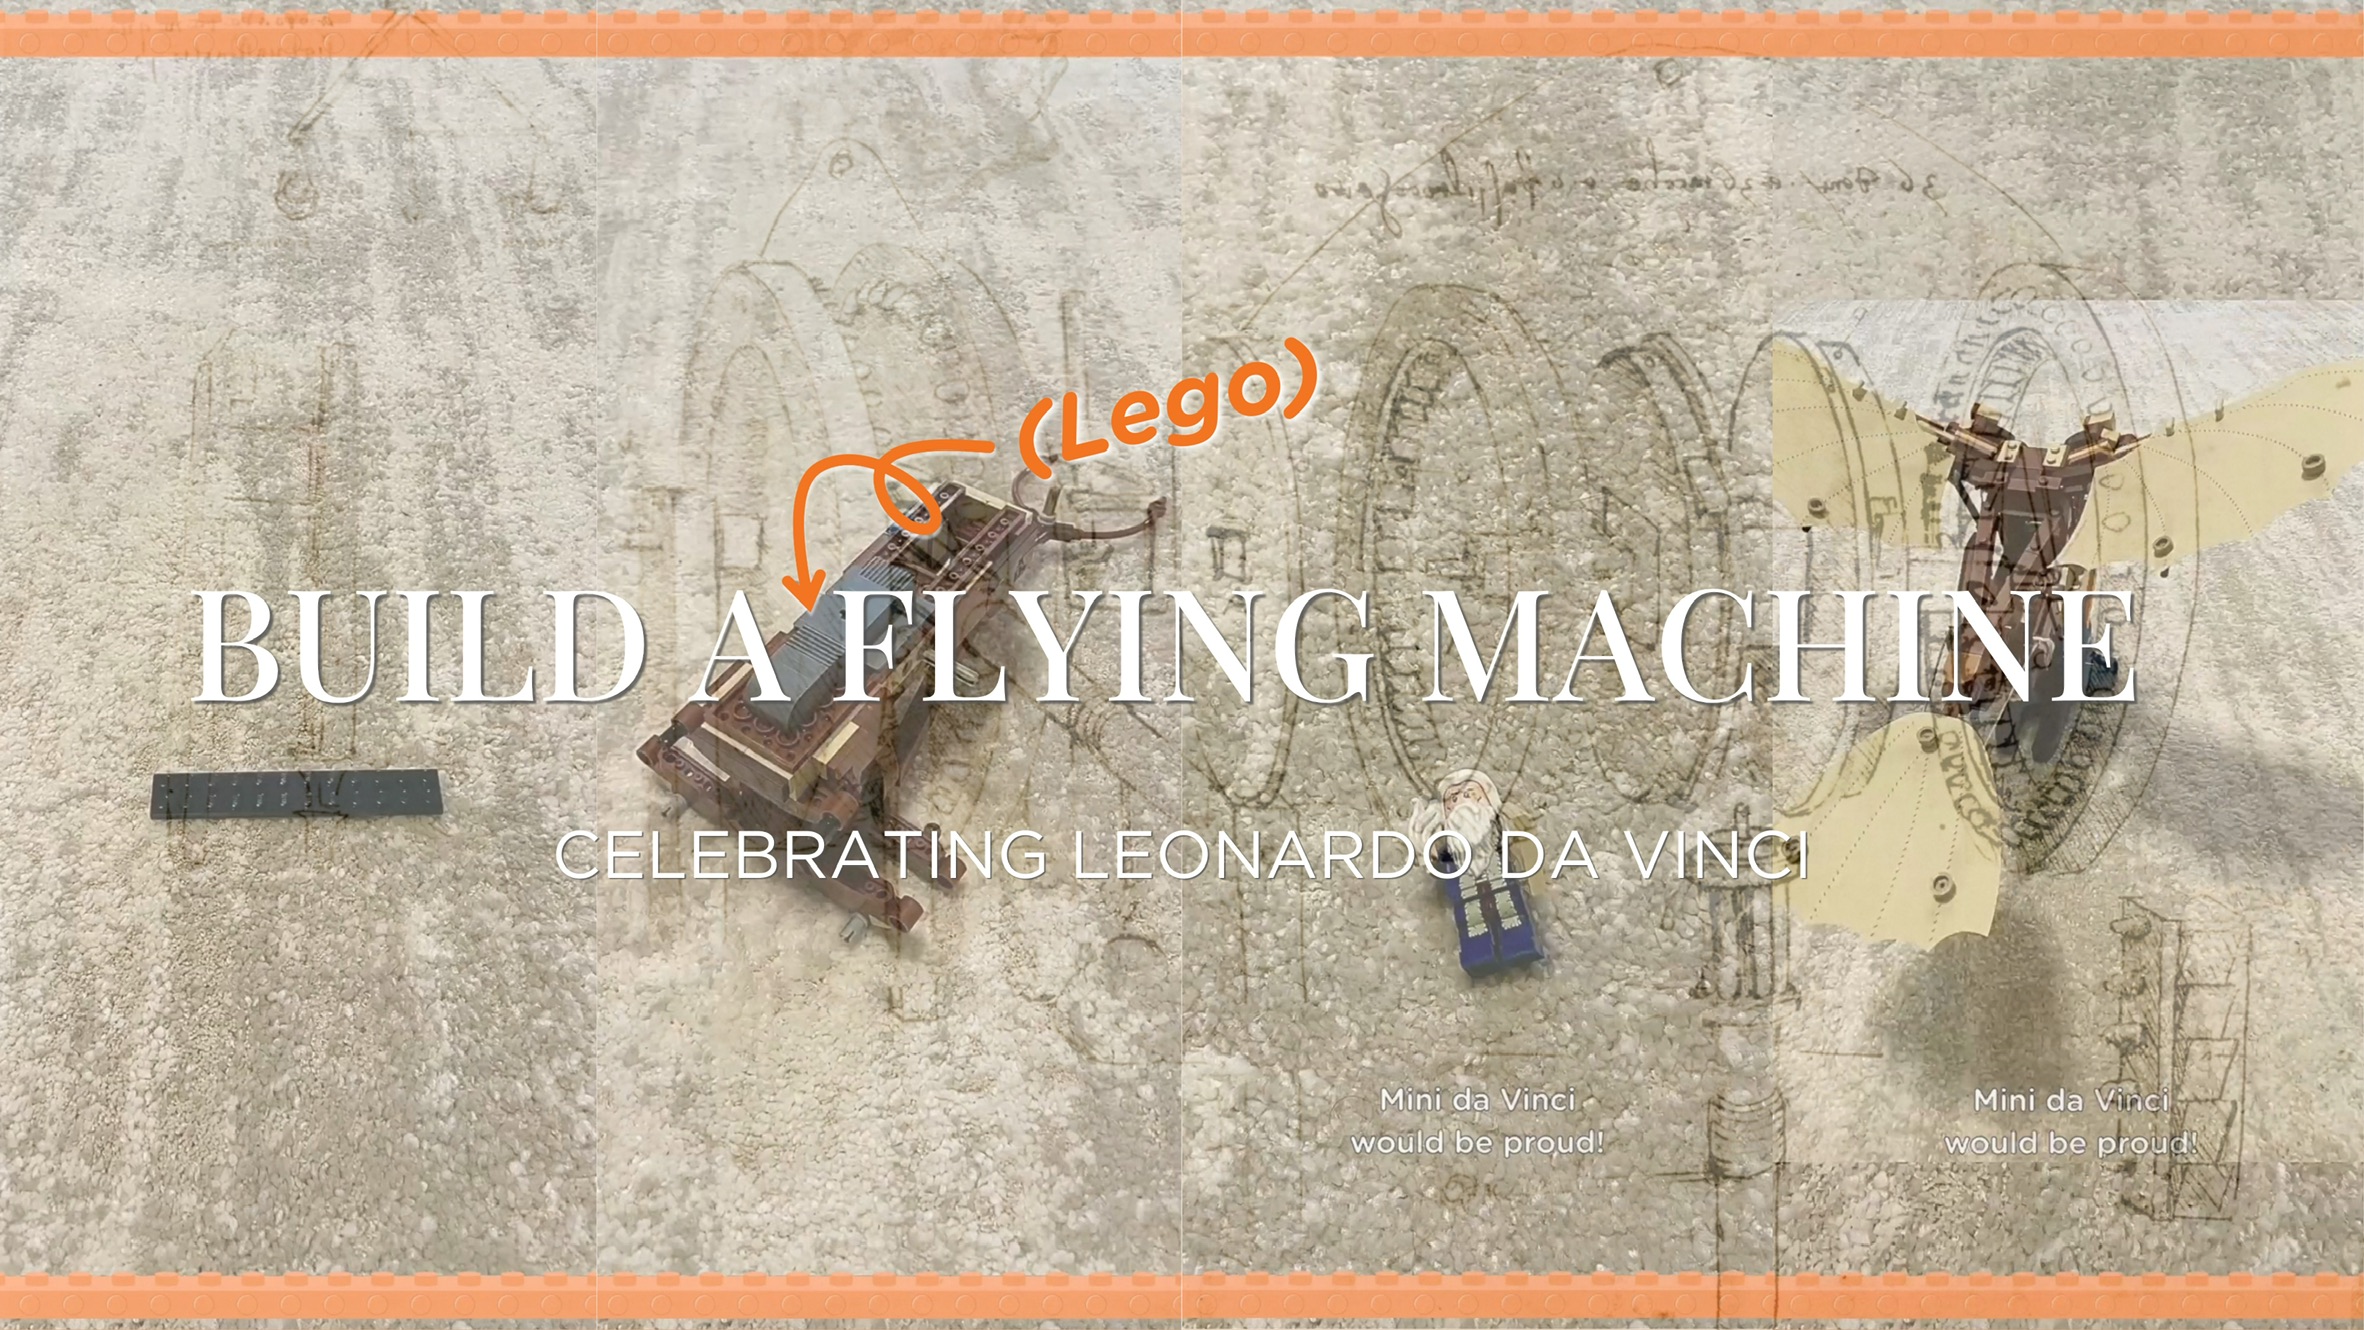
 Campfire Tip #12: Be like Leonardo